The traditional view of a scientific experiment is one that is conducted with lab coats and in an underground laboratory where people mix chemicals to make brightly coloured mixtures.
This doesn’t have to be the case. Science experiments at home provide an exciting opportunity for children to get involved with learning in a very hands-on way.
Science Experiments at Home: Girl with Hair Net doing Science Experiments
The home environment provides an opportunity to teach children about processes and materials. A perfect way of understanding the biological, chemical, and physical world is by doing easy science experiments for kids at home.
Most science experiments at home can be conducted using materials that can be picked up cheaply at the store. Helping your children develop their science skills has never been easier.
Science Experiments for Kids at Home: Make A Lava Lamp
Everyone enjoys watching lava lamps. As the lamp heats up, the blobs of material would float to the surface and slowly sink again. A rather therapeutic process that seemed complex and out of reach.
You can make your lava lamp with ingredients that can be store-bought. You will need to get an empty water bottle, some vegetable oil, water, any food colouring you desire, and Alka-seltzer tablets.
It is very simply made and is a great opportunity to encourage children to participate in science experiments at home.
Simply fill the empty water bottle with vegetable oil. Make sure the bottle is filled two-thirds of the way. Fill the rest of the bottle with water but make sure to leave a little space at the top of it. You will notice that the water sinks below the vegetable oil.
Vegetable Oil
This is a perfect example to teach your children about density. Oil and water don’t mix because water has a higher density than water or is heavier than it. This means that the oil floats on the surface.
From here, you can add your chosen food colouring. The food colouring only mixes with the water and not the oil.
Stir this mixture with something like a spoon or straw to make sure the water and the food colouring are mixed well together. Try not to shake your mixture as this will only cause bubbles to form in the oil and make the finishing outcome lacklustre.
Finally, break an Alka-seltzer tablet into four parts and let your children drop in a single piece at a time.
Once it drops into the mixture, the blobs start to move up and down the bottle. This happens through the Alka-seltzer tablets sinking to the bottom and dissolving into the mixture.
As it is dissolving, it forms a gas which rises to the top and takes a little of the coloured water as it rises. These gas bubbles then break at the surface and the coloured water sinks to the bottom.
You can reuse this little experiment by screwing the top back onto the bottle and adding Alka-seltzer tablets whenever you want to use it again. A wonderful example of science experiments at home.
Science Experiments at Home: Lava Lamp
Easy Science Experiments to do at Home: Make Slime
Children love gooey textures and playing with slimy objects. It has never been easier to make your slime. All you need is borax, some glitter glue, a glass container, and water.
Empty the contents of a glitter glue bottle into a glass container. Feel free to let your child pour it in. After the bottle has been emptied of its contents, fill the bottle with water and release it into the glass container as well. Make sure you mix it well. From here, you should have a lovely, sticky mixture.
Take a teaspoon of borax and place it into half a cup of warm water. Make sure you handle the borax rather than allowing your child to.
Mix the solution well before slowly pouring the solution into the glass container with the glue mixture. Stir it well and observe as the slime forms.
This is one of many science experiments at home that teach children about polymers. Polymers are essentially plastics, they are long-stranded molecules that make up many of our daily objects. The glue contains an ingredient which is a liquid polymer.
The borax acts as an agent to allow the polymer strands to join together, creating a sticky slime – a brilliant place toy. Children can manipulate the slime into whatever fashion they want. A brilliant idea for science experiments at home.
Father and Son Conduct Chemical Experiments at Home, Home Made Slime Family Plays with a Slime
Cool Science Experiments at Home: Inside a Penny
Pennies are considered worthless change and most people don’t even want them in their purses, but they used to be worth a lot more than that.
Any penny made before 1982, pennies were made of 95% copper and 5% zinc. Copper was a metal that was worth something, so people naturally wanted to melt them down for use. Now, the treasury makes them with a 99% zinc core and coats them in copper instead.
This is a case of science experiments at home that can expose something to show what it’s made of.
All you need to complete this penny experiment is two pennies. One from before 1982 and one from after that period.
You’ll also need a lemon and a lemon juicer, two glasses, and needle-nose pliers. Also, safety goggles if you want to be extra safe. Take the needle-nose pliers and pinch a small notch in the edge of each penny.
Then, place each penny in the bottom of the glass. Cut a lemon in half and squeeze the juice from one half of the lemon into each glass.
These science experiments at home are a great way of highlighting the internal material of pennies. The pre-1982 penny shouldn’t see much change. This is because it is essentially solid copper and the citric acid from the lemon may react with the copper to create oxidation.
This will only clean the penny and make it look brand new. There will be a significant change with the post-1982 penny though. It will begin to bubble highlighting a chemical reaction taking place. The citric acid will cause the zinc core to oxidise so you should see solid black particles floating in the juice.
This is zinc oxide. Another chemical process is also occurring forming the bubbles collecting on the surface of the lemon juice. This demonstration of chemical reactions and physical changes is a brilliant illustration of science experiments at home.
Why not subscribe to our LearningMole Library for as little as £1.99 per month to access over 1400 fun educational videos.
Mathematics and nature intertwine in fascinating ways, creating patterns and sequences that delight and educate. As we observe the world around us, we find that counting petals and leaves isn't...
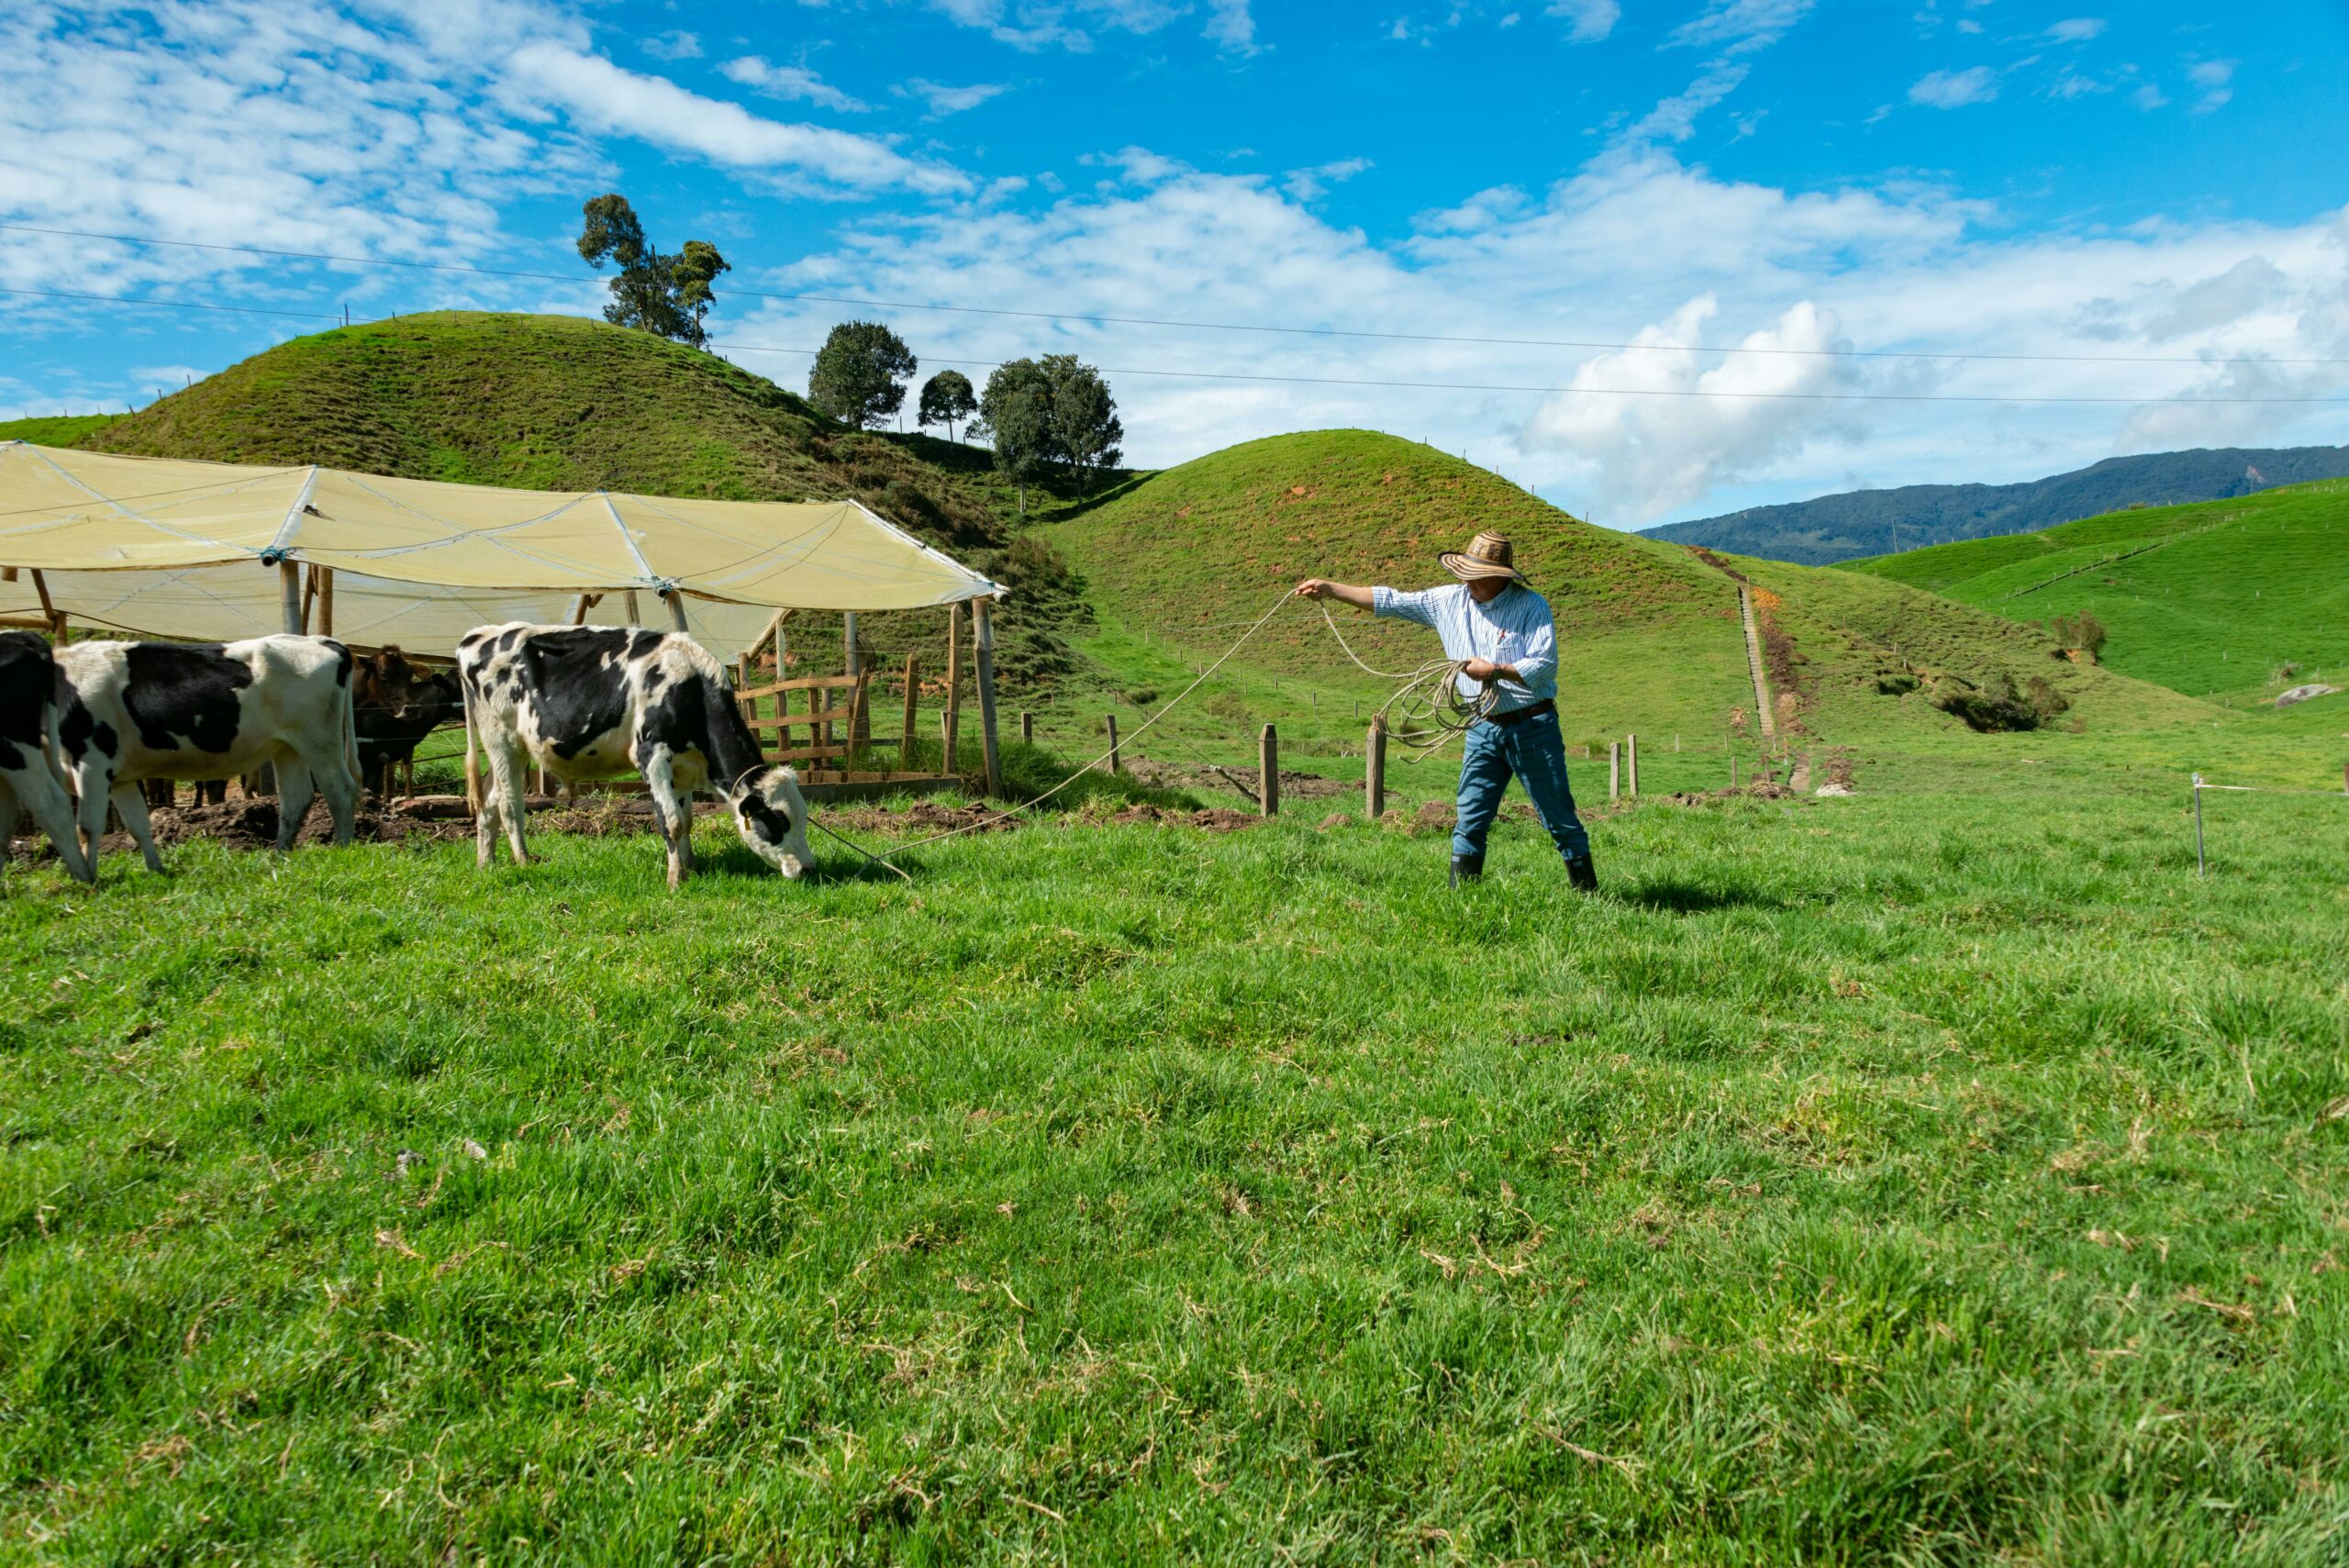
Maths on the farm is not just about profits and yields; it's a fundamental part of daily farm life, especially when it comes to managing livestock. Our days begin with...
Exploring the vast and enchanting underwater world provides a unique backdrop for engaging children in the essential subject of mathematics. At LearningMole, we believe that bringing together the excitement of...


Leave a Reply