Science Experiments at Home: Fun Chemistry Ideas for Kids

Avatar of Michelle Connolly
Updated on: Educator Review By: Michelle Connolly

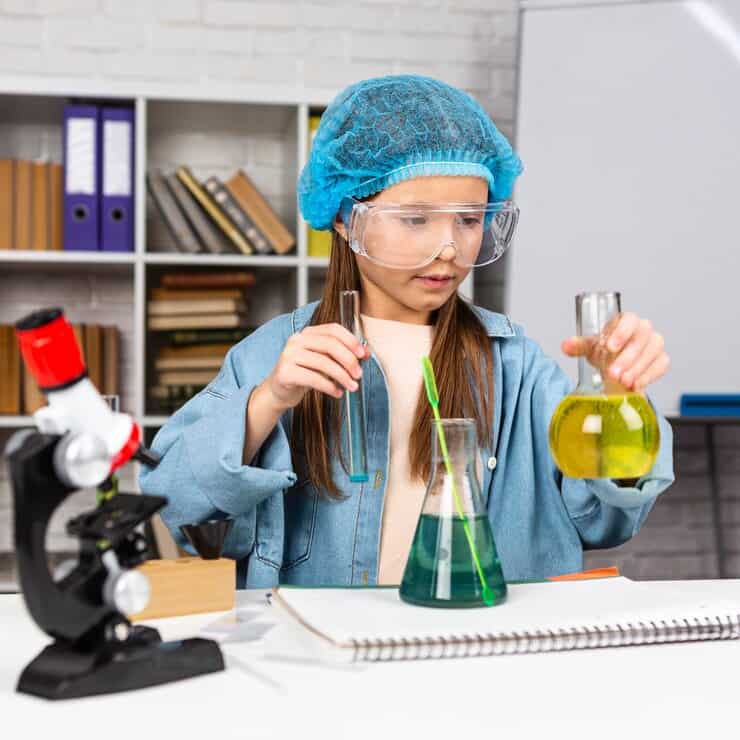
Science Experiments at Home: Science doesn’t need a laboratory. Some of the most memorable science learning happens in a kitchen, with a jar, a few kitchen cupboard ingredients, and a child who wants to know why things fizz, change colour, or refuse to mix.

Science experiments at home give children a direct experience of the concepts that underpin the UK National Curriculum’s science strands, states of matter, properties of materials, chemical changes, and forces, in ways that no textbook activity can replicate. The home becomes the lab, and the curiosity that drives real science gets a place to run.

At LearningMole, we’ve spent years helping UK teachers and parents make science engaging and curriculum-meaningful. The experiments in this guide cover KS1 and KS2 children, from Year 2 through to Year 6, and each one maps directly to National Curriculum objectives.

You’ll find the classic lava lamp and slime activities that children already love, extended with the science that makes them genuinely educational, plus three chemistry-focused experiments designed to push KS2 learners a little further: a fizzy acid-base volcano, a red cabbage pH indicator, and the magic milk surface tension activity. Every activity uses safe, readily available household materials.

This guide also includes a practical safety section, a swap-shop table for families who don’t have standard lab equipment, a full National Curriculum mapping table, and advice on sustainable disposal, the section that almost no other guide covers, but that every parent eventually asks about. Whether you’re a teacher looking for out-of-school extension ideas, a parent navigating a school holiday with a curious child, or a home educator planning a science unit, these experiments are built to deliver real learning alongside the fun.

Safety and Preparation Before You Start

The experiments in this guide use food-safe or household-grade materials: vinegar, bicarbonate of soda, vegetable oil, red cabbage, whole milk, food colouring, washing-up liquid, and lemon juice. None requires specialised chemicals. That said, a few basic safety habits matter, particularly for the chemistry experiments in the second half of the guide.

Adult supervision: Always work alongside children, especially for experiments involving liquids that could splash or stain. KS1 children (Years 1 and 2) should observe rather than pour.

Eye protection: Swim goggles or sunglasses work well for home use. Splash risk is low in these activities, but it builds a good habit.

Mixing rules: Never mix bleach, ammonia, or any branded cleaning products with the experiment materials. The activities here use food-grade acids (vinegar, lemon juice) and bases (bicarbonate of soda), which are safe for kitchen sinks. Bleach-based cleaners are not part of any experiment in this guide.

Surfaces: Cover worktops with newspaper or a wipe-clean mat. Food colouring stains quickly.

The table below maps standard lab equipment to its home equivalent, so you don’t need to buy anything specialist.

Lab EquipmentHome Equivalent
BeakerJam jar or large mug
Stirring rodChopstick or pencil
Test tubeShot glass or small glass
PipetteTeaspoon or drinking straw (pinched)
FunnelRolled-up piece of card
Safety gogglesSunglasses or swim goggles

Experiment 1: Make a Lava Lamp

Science Experiments at Home

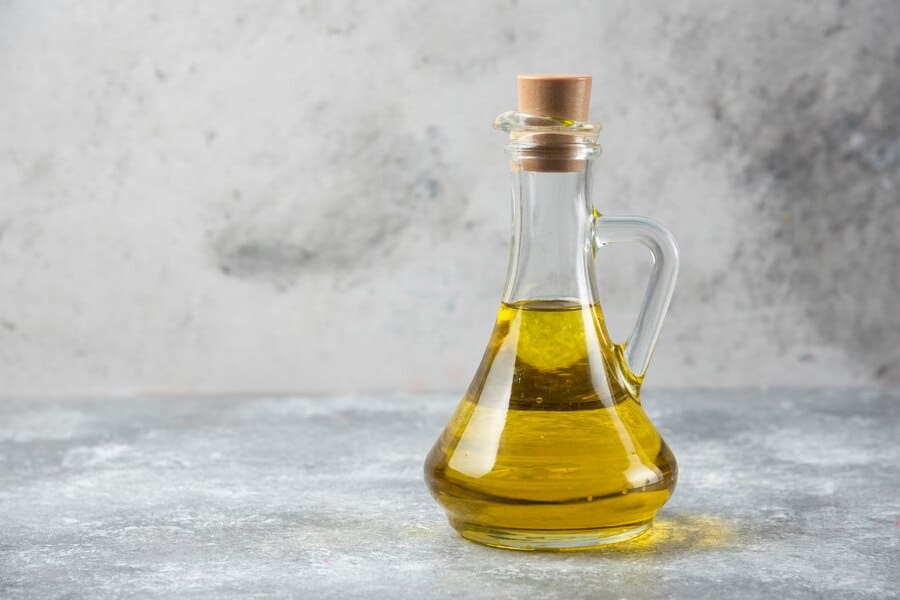
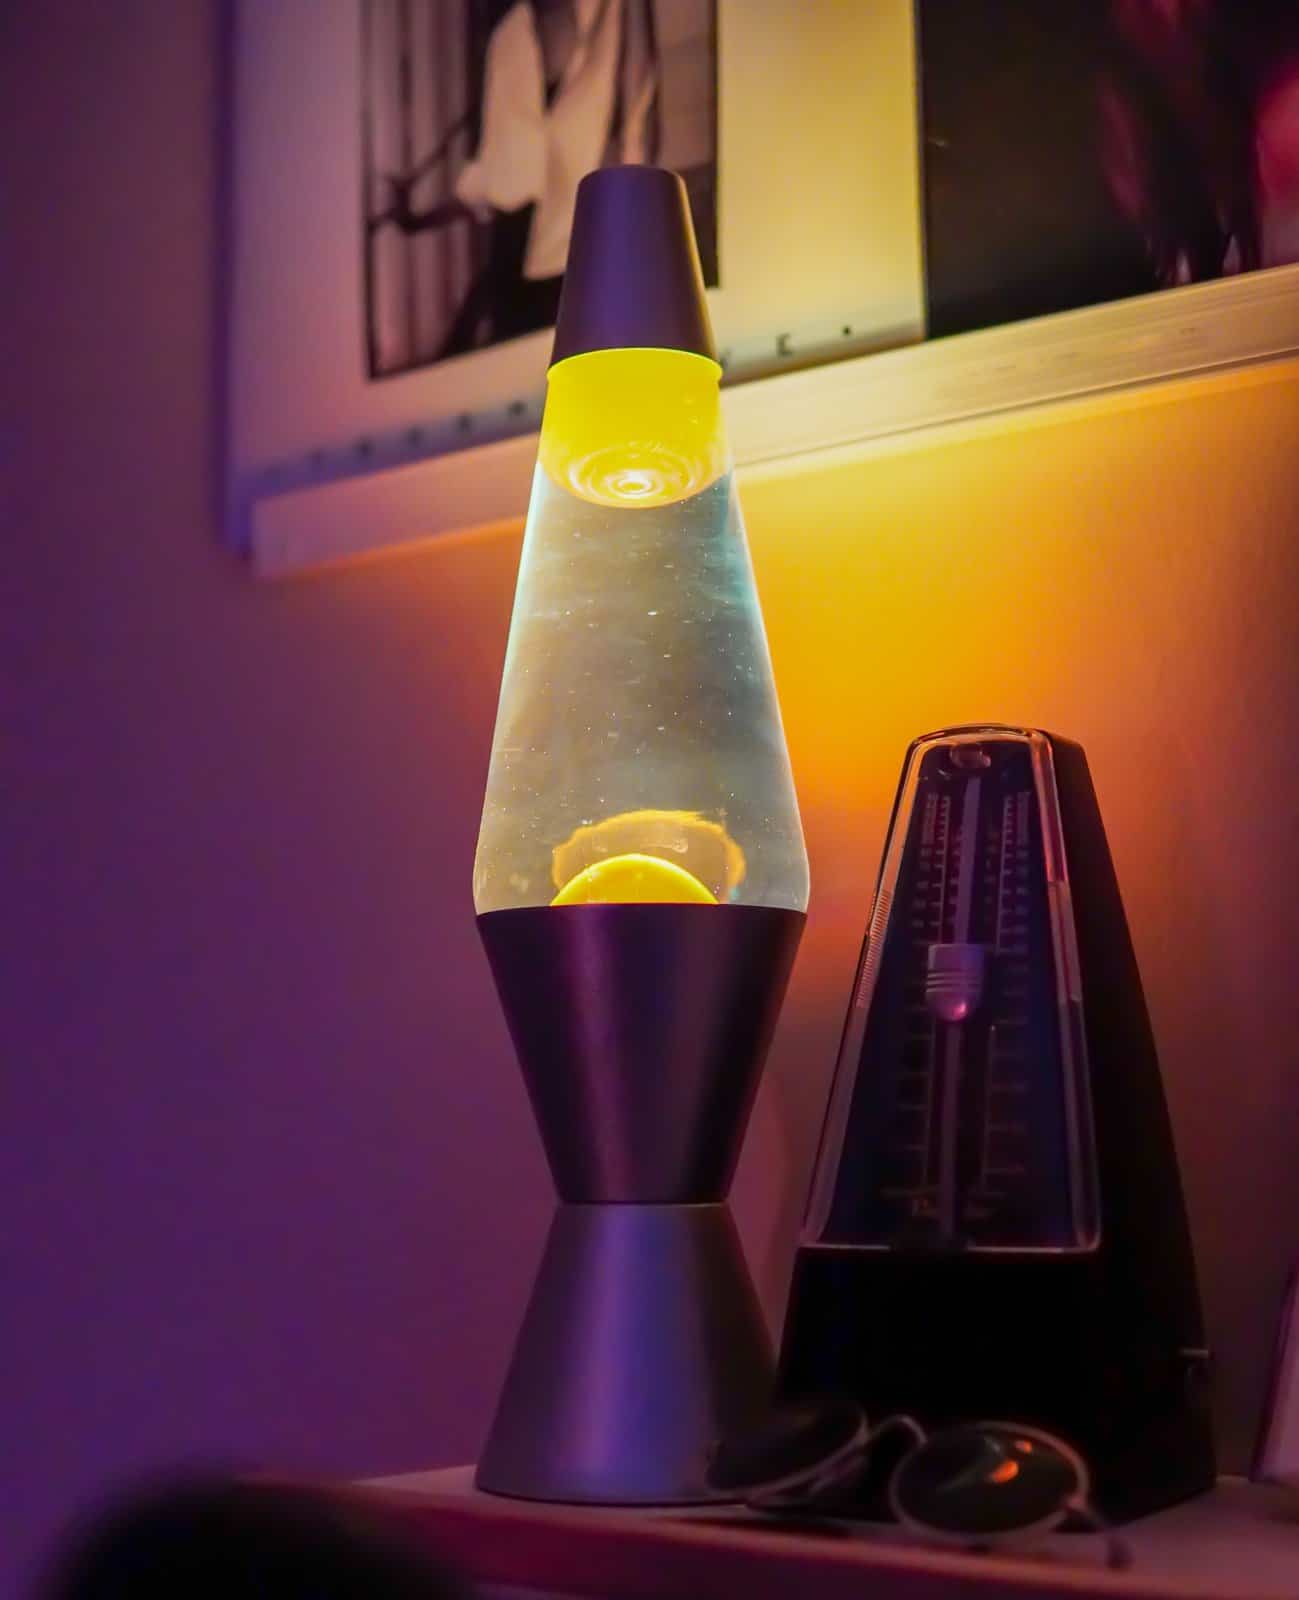
Children learn best when science becomes something they can watch in motion. The homemade lava lamp demonstrates density and immiscibility, two core KS2 concepts, using nothing more than a water bottle, vegetable oil, water, food colouring, and Alka-Seltzer tablets. The blobs rising and falling are not magic; they’re a direct illustration of competing densities and carbon dioxide production, and children who make this at home carry that understanding into the classroom.

What You Need

  • A clear, empty water bottle or a large glass jar
  • Vegetable oil (enough to fill two-thirds of the bottle)
  • Water
  • Food colouring of your choice
  • Alka-Seltzer tablets (or generic effervescent vitamin tablets work too)

Method

  1. Fill the bottle two-thirds full with vegetable oil.
  2. Top up with water, leaving a small gap at the top. You’ll notice the water sinks below the oil immediately.
  3. Add 8 to 10 drops of food colouring. Watch how it travels through the oil and mixes only with the water layer below.
  4. Stir gently with a chopstick or pencil; do not shake, as shaking creates persistent foam in the oil.
  5. Break an Alka-Seltzer tablet into four pieces. Drop in one piece at a time and watch.

The Science: Density and Immiscibility

Oil and water don’t mix because of molecular polarity. Water molecules are polar (they have slightly positive and slightly negative ends), which means they attract other polar molecules but not non-polar ones, such as oil. This is why the water-soluble food colouring sinks straight through the oil and colours only the water layer.

When the Alka-Seltzer tablet hits the water, it dissolves and produces carbon dioxide gas. The gas bubbles rise through the oil, carrying coloured water with them. When the bubble reaches the surface and bursts, the water droplet loses its gas carrier and sinks back down. The process repeats until the tablet is fully dissolved.

National Curriculum link: Year 4 — States of Matter; Year 5 — Properties and Changes of Materials. This activity also introduces immiscibility, which supports later KS3 chemistry work.

You can reuse the lamp indefinitely by screwing the lid back on and keeping it. Add a new tablet piece whenever you want the reaction to start again. LearningMole’s science videos for KS2 include visual explanations of states of matter and material properties that pair well with this activity.

Experiment 2: Make Slime

Make Your Own Slime: A Guide to Crafting Non-Newtonian Fun at Home

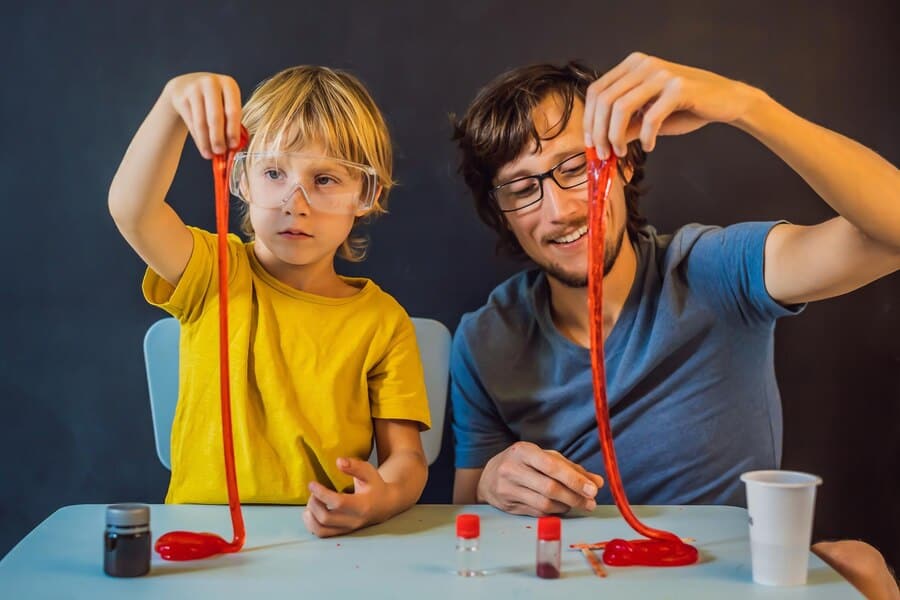
Slime is one of the most popular science experiments for kids at home, and it earns its place because it demonstrates polymer chemistry in a completely tactile way. Children don’t just see the science; they hold it. The cross-linking process that turns liquid glue into a stretchy solid is a simplified version of the same chemistry that produces many everyday plastics, and KS2 children can genuinely understand it when it’s explained alongside the making process.

What You Need

  • 1 bottle of glitter glue (or plain PVA glue works equally well)
  • 1 teaspoon of borax powder
  • Half a cup of warm water
  • A glass mixing bowl or large jar
  • A chopstick or a spoon for stirring

Method

  1. Empty the entire glue bottle into your glass bowl.
  2. Fill the empty glue bottle with water and pour it into the bowl. Mix the glue and water thoroughly.
  3. In a separate small cup, dissolve 1 teaspoon of borax in half a cup of warm water. Stir until the borax is fully dissolved. Adults should handle the borax powder.
  4. Slowly pour the borax solution into the glue mixture while stirring continuously. The slime will start to form almost immediately.
  5. Once it’s gathered together, knead it with your hands until it reaches the texture you want.

The Science: Polymers and Cross-Linking

PVA glue contains a polymer called polyvinyl acetate, long chains of molecules that flow freely, which is why the glue pours like a liquid. When you add the borax solution, the borate ions from the borax form bonds between the polymer chains, linking them together. This cross-linking is what turns the free-flowing liquid into the solid-but-stretchy slime. Pull it slowly, and it stretches; pull it fast, and it snaps. That difference in behaviour under different forces is called viscoelasticity, and it’s a property found in many real materials.

Safety note: Borax should be handled by adults. It is safe for skin contact during the slime-making process, but should not be ingested. Wash your hands thoroughly after the activity.

National Curriculum link: Year 2 — Uses of Everyday Materials; Year 4–5 — Properties and Changes of Materials (reversible and irreversible changes). Note for teachers: the cross-linking reaction is technically reversible with sufficient water, which makes it a useful discussion point.

Experiment 3: Inside a Penny

Science Experiments at Home

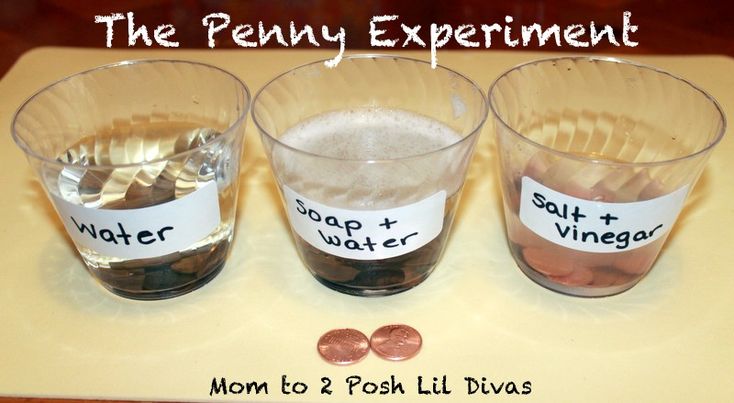
This activity is a sharp illustration of chemical reactions and physical change, with a practical twist: it uses coins, which makes the chemistry feel real rather than abstract. The different reactions between a pre-1982 penny and a post-1982 penny reveal exactly what each is made of, without needing any specialist testing equipment.

What You Need

  • Two pennies — one minted before 1982, one after (check the date on the coin)
  • One lemon (or bottled lemon juice)
  • Two small glasses
  • Needle-nose pliers
  • Safety goggles, if available

Method

  1. Use the needle-nose pliers to make a small nick or scratch in the edge of each penny, exposing the core metal beneath the outer layer. Adults should do this step.
  2. Place one penny in each glass.
  3. Cut the lemon in half and squeeze the juice from one half into each glass, enough to submerge the penny.
  4. Leave for 10 to 15 minutes and observe.

The Science: Acids and Oxidation

Lemon juice contains citric acid. For the pre-1982 penny (95% copper, 5% zinc), the citric acid causes mild oxidation of the copper surface. The reaction removes tarnish and leaves the penny visibly cleaner and brighter, a reversible surface change, not a structural one.

The post-1982 penny (99% zinc core with a copper coating) responds differently. The nick you made exposes the zinc core to the citric acid, which reacts much more aggressively with zinc than with copper. You’ll see bubbling as zinc oxide forms, and small dark particles may appear in the lemon juice. This is a chemical change: the zinc is reacting with the acid and forming new substances.

National Curriculum link: Year 5–6 — Properties and Changes of Materials (including reversible and irreversible changes, and chemical reactions producing new materials). This experiment directly addresses the curriculum requirement to distinguish between physical and chemical changes.

The contrast between the two pennies makes the concept concrete: same acid, same conditions, different material, completely different outcome.

Experiment 4: The Acid-Base Fizzy Volcano

Science Experiments at Home

The fizzy volcano is the experiment that most children ask about first, and for good reason: the eruption is immediate and dramatic. What makes this version educationally valuable is the explicit teaching of acid-base chemistry alongside the spectacle, connecting the visible reaction to the KS2 curriculum strand on chemical changes, and using accurate vocabulary from the start.

What You Need

  • A small bottle or container (a clean plastic drinks bottle works well)
  • 3 tablespoons of bicarbonate of soda
  • Half a cup of white wine vinegar or malt vinegar
  • A few drops of red or orange food colouring
  • 1 teaspoon of washing-up liquid (optional: slows the reaction slightly and creates a better foam)
  • A tray to catch the overflow

Method

  1. Stand the bottle in the centre of a tray. You can build a volcano shape around it using scrunched foil or damp sand if you want a more dramatic presentation.
  2. Add the bicarbonate of soda to the bottle.
  3. Add the food colouring and washing-up liquid to the vinegar in a separate cup.
  4. When ready to ‘erupt’, pour the vinegar mixture into the bottle quickly.

The Science: Acids, Bases, and CO2

Vinegar is a dilute acid (acetic acid). Bicarbonate of soda is a base (sodium bicarbonate). When an acid meets a base, they react in what chemists call a neutralisation reaction. In this case, the products are water, sodium acetate (a salt), and carbon dioxide gas. The CO2 is what causes the fizzing and foam; the gas is escaping from the liquid rapidly, carrying the foam with it.

The washing-up liquid traps the CO2 bubbles in a foam, which is why it gives a better visual eruption than plain vinegar.

KS2 vocabulary to introduce: acid, base, neutralisation, carbon dioxide, chemical reaction, reactants, products.

National Curriculum link: Year 5–6 — Properties and Changes of Materials; chemical reactions that produce gases. This activity also introduces the concept of pH informally, which sets up Experiment 5 below.

Experiment 5: Red Cabbage pH Indicator

Science Experiments at Home

This experiment takes the acid-base chemistry introduced in the volcano activity and adds measurement. Red cabbage contains a pigment called anthocyanin that changes colour depending on the pH of the liquid around it, pink and red in acidic conditions, green and yellow in alkaline ones. Children can create a natural pH indicator and test a range of safe household liquids, turning the kitchen into a chemistry lab.

What You Need

  • Half a red cabbage
  • A saucepan and hob (adult-supervised)
  • Water
  • Small clear glasses or jars (one per liquid you want to test)
  • Safe household liquids to test: lemon juice, vinegar, bicarbonate of soda solution, washing-up liquid dissolved in water, tap water, milk

Creating Your Indicator

  1. Chop the cabbage roughly and place it in a saucepan.
  2. Cover with water and bring to a simmer for 10 minutes. The water will turn a deep purple.
  3. Leave to cool completely, then strain out the cabbage pieces. Keep the purple liquid; this is your indicator.
  4. Pour a small amount of indicator into each glass, then add your test liquids one at a time.

The Science: The pH Scale

The pH scale runs from 0 to 14. Anything below 7 is acidic, 7 is neutral, and anything above 7 is alkaline (also called a base). Lemon juice and vinegar will turn the cabbage indicator pink or red (acidic). Bicarbonate of soda solution and washing-up liquid will turn it green or yellow (alkaline). Tap water and milk should stay close to the original purple (neutral to slightly acidic).

“Children are often surprised that something as ordinary as red cabbage can tell you something precise about chemistry,” says Michelle Connolly, Founder of LearningMole and former teacher with over 15 years of classroom experience. “That moment of genuine surprise is exactly where learning sticks, when the science stops feeling like a school subject and starts feeling like something that explains the actual world.”

National Curriculum link: Year 5–6 — Properties and Changes of Materials (chemical changes; acids and alkalis). Explicitly addresses the requirement for pupils to describe the differences between reversible and irreversible changes, and to observe evidence for chemical reactions.

Have children predict what colour they expect before testing each liquid. This builds the scientific enquiry habit of forming hypotheses before testing.

Experiment 6: Magic Milk and Surface Tension

Science Experiments at Home

The magic milk experiment produces one of the most visually striking results of any home science activity, swirling, spreading patterns of colour that seem to move on their own when washing-up liquid is added. The science behind it is surface tension and the disruptive effect of surfactants, which connects directly to KS2 understanding of properties of materials and the behaviour of liquids.

What You Need

  • Whole milk (full-fat gives the best results; skimmed milk produces a much weaker effect)
  • A shallow dish or plate with a slight rim
  • Food colouring in several colours
  • Washing-up liquid
  • A cotton bud or the tip of a cocktail stick

Method

  1. Pour milk into the shallow dish to a depth of about 1 centimetre.
  2. Add 4 to 5 drops of different food colourings in separate spots around the milk. Don’t stir.
  3. Dip a cotton bud into the washing-up liquid.
  4. Touch the cotton bud to the surface of the milk in the centre. Watch the colours move immediately.

The Science: Breaking Surface Tension

Milk contains fat molecules and proteins that are held at the surface in a thin, tense layer, which is surface tension. Washing-up liquid is a surfactant: it disrupts surface tension because one end of each surfactant molecule is attracted to water, while the other is attracted to fat. When you introduce the washing-up liquid, the fat molecules in the milk rush away from the point of contact, carrying the food colouring with them. This is why the colours shoot outward.

The reaction slows and stops once the surfactant has spread evenly and the surface tension has been equalised. Adding a fresh drop of washing-up liquid starts the movement again.

National Curriculum link: Year 4–5 — Properties and Changes of Materials; Year 5 — Forces (introducing surface tension as a property of liquids, which connects to KS3 forces content).

Each experiment in this guide maps directly to specific science strands within the UK National Curriculum. The table below shows the links at a glance, which is useful for teachers planning out-of-school extension activities or parents wanting to connect home learning to what their child is covering in class.

ExperimentKey StageNational Curriculum LinkYear Group
Lava LampKS2States of Matter; Properties of Everyday MaterialsYear 4–5
Slime MakingKS1–KS2Uses of Everyday Materials; Properties of MaterialsYear 2–4
Penny ChemistryKS2Properties and Changes of Materials: Irreversible ChangesYear 5–6
Fizzy VolcanoKS1–KS2Everyday Materials: Chemical Changes (intro)Year 2–5
Red Cabbage pHKS2Properties and Changes of MaterialsYear 5–6
Magic MilkKS2Properties of Materials: Forces (surface tension intro)Year 4–5

For a more detailed breakdown of how primary science is structured by year group, LearningMole‘s KS1 and KS2 science resources include video explanations of each curriculum strand, designed to sit alongside practical activities like these.

Eco-Clean: Disposing of Your Experiments Safely and Sustainably

Science Experiments at Home

Sustainable disposal is the section that most science activity guides skip entirely, but it’s a question that every parent and teacher eventually asks. The good news is that all materials in this guide are safe for household disposal.

Lava lamp: The oil-and-water mixture can be poured down the drain. Oil should be placed in a sealed container and disposed of in a food waste or general waste bin, not poured down the drain in large quantities, as oil can coat pipes over time. The Alka-Seltzer residue is inert and safe for drains.

Slime: Place in a sealed bag and put in the general waste. Do not pour large quantities of borax solution down the drain.

Penny experiment: The lemon juice can be poured down the sink. Dispose of pennies with zinc oxide residue in normal waste.

Volcano: The neutralised vinegar-bicarbonate mixture is essentially salty water and is completely safe for drains. It may even help clean the pipes slightly.

Red cabbage indicator: Pour down the sink with running water. The pigment stains surfaces, so rinse immediately.

Magic milk: Pour down the sink. Full-fat milk creates more residue, so follow with hot water.

Teaching children to think about what happens to experiment materials afterwards is itself a science and geography learning point, connecting chemical properties to environmental responsibility.

Teaching Resources and Science Support from LearningMole

LearningMole is a UK educational platform providing curriculum-aligned science videos and teaching resources for primary schools. Founded by Michelle Connolly, a former primary school teacher with over 15 years of classroom experience, LearningMole has developed more than 800 educational videos covering maths, English, and science, all designed to support the UK National Curriculum.

Frequently Asked Questions

Science Experiments at Home

Are these science experiments safe to do at home with young children?

Yes, all six experiments use food-safe or household-grade materials: vinegar, bicarbonate of soda, vegetable oil, lemon juice, milk, red cabbage, PVA glue, and washing-up liquid. The only ingredient that requires adult handling is borax in the slime experiment. None of the experiments uses specialised chemicals, heat sources beyond a domestic hob (in the red cabbage activity), or any materials that pose risk to skin or eyes under normal use. KS1 children aged 5 to 7 should be supervised throughout, with adults handling pouring and mixing steps.

Which experiment is best for a 7-year-old?

The fizzy volcano is the strongest starting point for children aged around Year 2 to Year 3. It produces an immediate visual result, uses only two main ingredients (vinegar and bicarbonate of soda), and the acid-base concept is accessible at that age with simple vocabulary. The lava lamp is equally good for younger children because the density separation is visible before the tablet is even added. Both provide clear curriculum links to KS1 and lower KS2 science.

What household items can be used for science experiments?

Vinegar, bicarbonate of soda, washing-up liquid, food colouring, vegetable oil, lemon juice, whole milk, and red cabbage cover the majority of home chemistry activities at the primary level. For measuring, a standard set of kitchen measuring spoons and cups is sufficient. Most families also have PVA glue, which is the basis of the slime experiment. None of the experiments in this guide requires purchases beyond basic supermarket items.

How do I explain a chemical reaction to a child?

The most effective explanation at primary level uses an analogy: describe molecules as building blocks. When two sets of building blocks (reactants) are mixed together, some of them come apart and the pieces join up in new ways to make different structures (products). The fizzing in the volcano, the bubbling in the penny experiment, and the colour change in the red cabbage indicator are all visible evidence that new substances have been made. The key test for a chemical change is that it’s usually irreversible; you can’t get the vinegar and bicarbonate of soda back out of the reaction products.

How do I dispose of experiment materials safely?

All materials in this guide are safe for household disposal. The neutralised volcanic mixture (vinegar plus bicarbonate of soda) is essentially dilute salt water and is safe for drains. Vegetable oil from the lava lamp should be placed in a sealed container and disposed of in general waste, not poured down drains in bulk. The borax solution from the slime experiment should be disposed of in the general waste, not the sink. Red cabbage indicator can be poured down the sink with running water. See the Eco-Clean section above for the full breakdown by experiment.

How do these experiments connect to what children learn in school?

Every experiment in this guide aligns with the UK National Curriculum for science at KS1 or KS2. The lava lamp and magic milk connect to Year 4 and 5 work on states of matter and properties of materials. The penny experiment, fizzy volcano, and red cabbage pH indicator connect to Year 5 and 6 work on properties and changes of materials, including reversible and irreversible changes and chemical reactions. The slime experiment connects to Year 2 uses of everyday materials and upper KS2 material properties content. The curriculum table in this guide shows the exact links.

Can parents do these experiments without any science background?

Yes. Each experiment in this guide includes a step-by-step method, a plain-language science explanation, and the vocabulary worth introducing to children. You don’t need to understand polymer chemistry to make slime with your child; the guide provides the language and explanations so you can read along together. The goal is not to teach chemistry formally but to give children a hands-on experience that connects classroom science to real life. Asking “why do you think that happened?” after each step is more valuable than knowing the answer in advance.

Where can I find more KS2 science resources?

LearningMole provides free and subscription-based KS2 science resources, including curriculum-aligned video explanations of key topics such as states of matter, forces, living things, and properties of materials. These are designed for UK primary schools and home learners, and they cover the same National Curriculum content that these experiments connect to. Visit learningmole.com or LearningMole’s YouTube channel for free video resources.

Conclusion

Science Experiments at Home

Science experiments at home work because they place children in the position of the scientist: testing, observing, and asking why. The six activities in this guide cover a range of KS1 and KS2 curriculum concepts, density, polymers, acids and bases, oxidation, surface tension, and pH, but the most important learning in each case is not the technical vocabulary. It’s the experience of watching something unexpected happen and wanting to understand it. That curiosity, nurtured at home, is what makes classroom science land differently.

The UK National Curriculum for science is built around working scientifically as a thread that runs through every topic from Year 1 to Year 6. Children who have observed density separation in a lava lamp understand the Year 5 states of matter unit differently from those who have only read about it. Children who have made their own pH indicator have a reference point for acid-base chemistry that a textbook diagram cannot provide. Home experiments don’t replace school science; they give it something to connect to.

LearningMole’s science videos and teaching resources are designed to extend exactly this kind of learning, providing the curriculum context and clear explanations that help children make sense of what they’ve seen and done. Explore the free video library at learningmole.com, or watch the KS2 science playlist on LearningMole’s YouTube channel to find curriculum-matched content that pairs with the experiments above.

Leave a Reply

Your email address will not be published. Required fields are marked *