
10 Fun Recycling Crafts for Kids
Table of Contents
Recycling crafts are the last thing kids think about. Kids nowadays only want to play on their tablets/iPads, and they don’t care much about recycling. So if you’re trying to limit their screen time and get them to try something different, here’s an idea: you can do some recycling arts and crafts with your kids to bring out their inner artists.
Recycling Crafts for Kids: Discover 10 fun and creative ways to turn everyday household materials into engaging art projects! From colorful sculptures to imaginative toys, this comprehensive guide offers step-by-step instructions for hands-on crafting that not only nurtures creativity but also teaches children about sustainability and environmental awareness. Dive into the world of recycling crafts and explore how transforming common items into artistic masterpieces can foster problem-solving skills, imagination, and a deeper appreciation for reusing resources.
If you want to encourage your children to do more art, doing so at a young age has many benefits, such as working on their motor skills, such as when they hold the crayon and scribble with it. They can express themselves creatively, such as through painting, if they cannot express themselves verbally. Art is highly beneficial to their memory because it allows them to visually process what they see in front of them, such as comparing the colours they colour with to the colours in their surroundings.
Teaching children the importance of recycling is highly beneficial; it encourages them to learn about sustainability, which gives them a sense of responsibility for their environment and surroundings. There is no better way to do so than by making recycled crafts with your children. It’s a two-in-one project that they’ll enjoy, and you’ll find them asking you to do more of them.
Get your aprons and brushes ready because we’re going to look at 10 fun recycling crafts you can do at home.
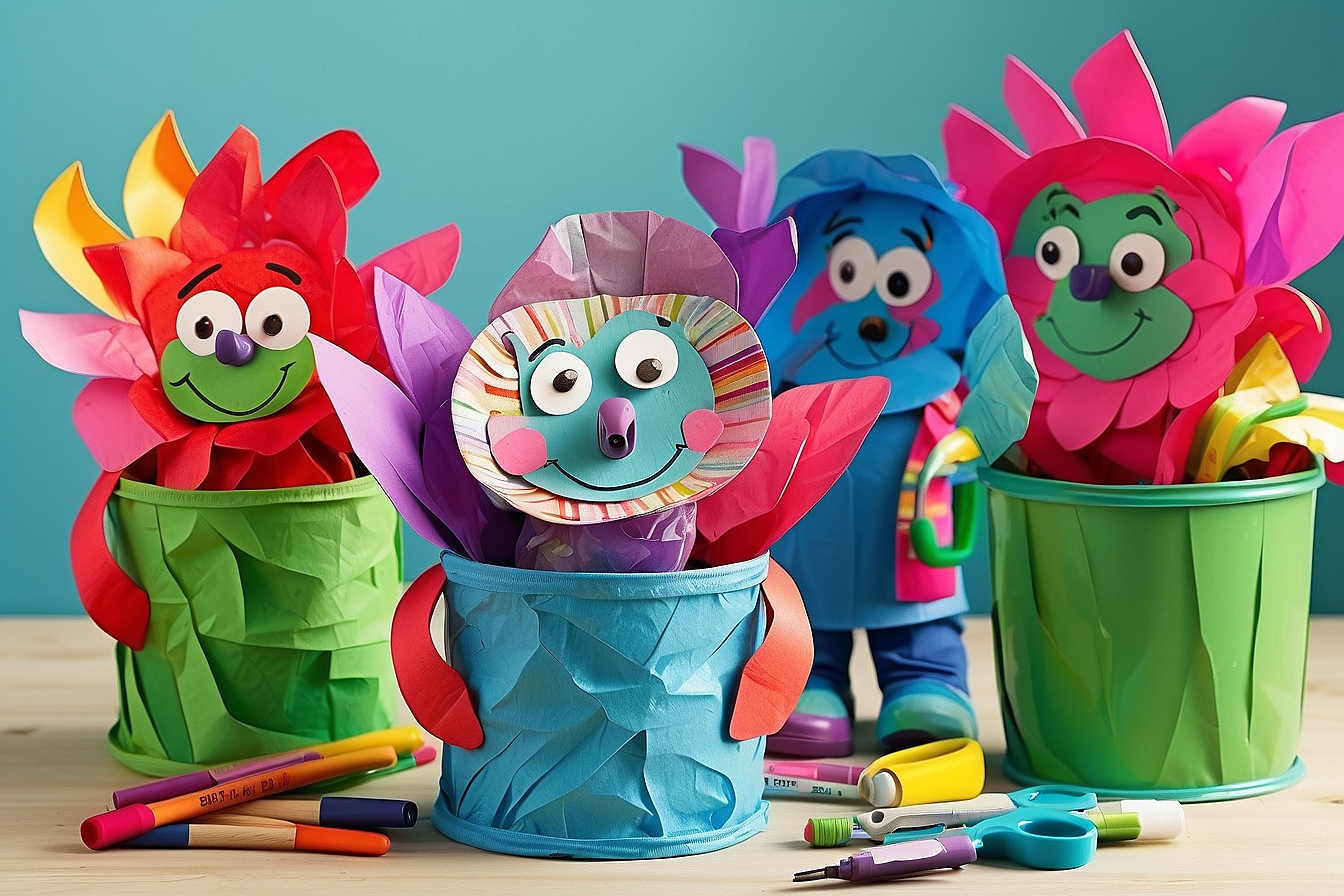
Materials and Preparation: Making Crafts Fun for All Ages
Specificity is Key:
Instead of just listing general materials, specify the exact items needed for each craft. Include quantities, sizes, and specific types of materials (e.g., cardboard boxes, egg cartons, plastic bottles). This helps parents gather everything beforehand and avoids confusion.
Preparation Tips:
- Mention any pre-preparation steps like washing containers, cutting cardboard, or preparing templates.
- Offer time-saving hacks like pre-punching holes or outlining shapes on materials.
- Suggest ways to involve kids in preparation tasks like sorting materials or measuring ingredients.
Adapting for Age Groups:
Younger Children (3-5 years):
- Simplify steps: Break down complex crafts into smaller, manageable steps.
- Pre-cut materials: Prepare materials beforehand to minimize cutting and manipulation required.
- Focus on sensory exploration: Incorporate elements like textures, colors, and tactile experiences.
- Offer more adult assistance: Guide them through each step and provide hands-on help where needed.
Older Children (6-8 years):
- Introduce more complex crafting techniques: Allow them to use tools like scissors (with supervision) and explore different glue types.
- Encourage independent crafting: Let them follow instructions more independently with occasional guidance.
- Add personalization options: Suggest ways for them to customize their crafts with their own creative touches.
- Incorporate problem-solving challenges: Encourage them to find solutions to minor crafting hurdles themselves.
Teenagers (9+):
- Offer challenging and open-ended crafts: Provide basic instructions and let them design their own creations.
- Introduce upcycling challenges: Encourage them to find unique uses for everyday objects.
- Focus on sustainability and environmental awareness: Discuss the benefits of recycling and using recycled materials.
- Allow collaboration and group projects: Let them work together and brainstorm creative ideas.
3 Recycling Crafts: Jewelry Making
Wearable recycling jewellery will give your kids a boost of confidence. They will want to show their art to their friends.
Recycled Straw Jewellery
Straw jewellery is a simple DIY project that can make with household items. It’s mess-free and will help your child practice fine motor skills, such as cutting straws with their safety scissors.
Materials:
- Yarn in different lengths for bracelets and necklaces
- Plastic drinking straws
- Safety Scissors
Directions:
- Your child will begin by snipping the straws, and using different colours of straws will make their necklace or bracelet more colourful.
- After cutting their straws, they will begin stringing them onto the yarn. They can make it any length they like.
- Last step; tie a knot and give it to them to wear proudly.
Colourful Recycled Pasta Jewellery
Making pasta jewellery is a fun two-day project that will get a little messy, so get your apron ready because you will need it. This is a small reminder it is best to leave it overnight or in the sun to dry faster.
Materials:
- Dried pasta
- Paint + Brushes
- Ziplock bags
- String
- Parchment paper
Directions:
- Get your zip-lock bag, squirt some paint in it, and add the dried pasta. Then seal it and let your child work their hands through it until the pasta is completely covered in paint.
- When they are finished, place the parchment paper on a flat surface, such as a tray, and pour the painted paste onto it to dry.
- This step is optional; once the pasta has completely dried. Allow your child to use the paint and brush to decorate the coloured paste in any way they want. This step is best avoided with toddlers.
- Get your string out, cut it into the desired lengths your child likes, and then begin putting the paste through. Once they’ve finished, tie it off and voila!
Create Your Own Recycled ‘Beads’ From Painted Cardboard and Bottle Tops
This is a lovely project for kids because most materials are upcycled from items you probably already have around the house. For example, ‘Beads’ are made of painted cardboard and bottle tops. Beads are a great way to practice fine motor skills. You can also incorporate natural elements into your necklaces, such as leaves or anything else your child likes!
Materials:
- Cord
- Ridged cardboard
- Paints
- Bottle tops
- Wooden beads
- Natural components like leaves (optional)
Directions:
- You will first colour the cardboard to make the large batch of beads. This step is messy, but isn’t art all about making a creative mess? Let your child paint whatever they want all over the cardboard; there is no right or wrong; just having fun and making patterns.
- Once the paint has dried, cut the cardboard into whatever shapes your child wants, then punch a hole in the centre.
- Make a hole in the middle of the bottle caps with a hot skewer (this step is best you do it and not let your child do it)
- You could also get leaves and punch holes in them.
- Finally, begin stringing the necklaces; once finished, tie a knot, and you have a mixed-media recycled necklace.
3 Recycling Crafts: Making Animal Crafts
If your kids have been nagging about getting an animal, you can make their own out of recycled material around the house. They will enjoy a recycled animal craft and idea that is very simple but enjoyable.
Recycled Yogurt Cup Snake
Most of us have a large pile of yoghurt cups we throw away daily; instead of throwing them away, we can turn them into a colourful recycling craft. For example, a colourful snake made out of paper and strings, a craft your children will enjoy making, and no snakes were harmed in the making of this craft.
Materials:
- Clean yoghurt cups (the number of yoghurt cups depends on the length of the snake)
- Coloured paper or old scraped paper on which they have already drawn.
- Yarn or string.
- Googly eyes or you could draw the eyes with a marker.
- Red ribbon.
- Glue. (PVA & Hot glue)
- Knitting needle. (for punching a hole and threading yarn through yoghurt cups)
- Scissors.
Directions:
- Get your coloured paper and cut the paper stripes to fit the size of your yoghurt paper.
- It’s now time to glue. Glue the paper onto the yoghurt cups with PVA/hot glue, and you can decorate it with shapes cut from paper or anything else your child wants to add to their snake.
- Cut the red ribbon for the snake’s tongue. Plan B is to make a tongue out of red paper if you don’t have a ribbon.
- Make a hole in the centre of the yoghurt cup container for the head. If you don’t have a needle, you can make a hole with a drawing pin and pull the wool through the hole. Please don’t cut it short because you’ll need it to be long.
- To make the snake’s face, use hot glue to glue the googly eyes and tongue. If you don’t have these items, you can draw them on the yoghurt container.
- Make a hole in the next yoghurt cup, but thread it backwards, so the two yoghurt tops meet.
- Thread the yoghurt cups until they are all connected. Tie a knot on the final one, then pull all the cups tight against the knot. Before cutting the yarn, decide how long you want your snake to be.
Recycled Paper Roll Fish
Suppose your kids have been asking about wanting to get a fish. They can make their own out of recycled toilet paper, and the best part is that you don’t have to clean any tanks or worry about overfeeding the fish.
Materials:
- Toilet paper roll
- Paint to decorate
- Googly eyes
- Glue
- Permanent marker
- Scissors
Directions:
1. Paint the toilet paper any colour.
2. Flatten your toilet roll
3. Make a rounded end for the fish’s head and two 45º slits for the tail.
4. To make the tail, fold the angled cut inwards, both forward and backwards and tuck it inside the fish.
5. Finally, start glueing the googly eyes and drawing the mouth. You can decorate the fish with paint or anything else your child wants to use to decorate their new pet.
Lady Bug Made From Recycled Bottle Cap
Ladybug recycled bottle cap is a simple craft that will cost you nothing, using only bottle caps that we have lying around the house.
Materials:
- Bottle Caps
- Paint
- Brushes
- Glue
- Goggly eyes
Directions:
- Start by painting the bottle caps red, orange, or yellow. Or any other colour your child desires; do not limit their creativity.
- Once the paint is dry, draw lines and dots on the ladybug.
- Once all of the lines and dots have dried. Begin by glueing the eyes. It’s simple and easy, and you can make as many as you want.
2 Recycled Crafts: Making Transportation Crafts
We’ve all seen how kids become obsessed with cars and boats! Let’s see how they can make their own out of recycled items.
Transforming a Cardboard Box Into a Recycled Toy Car
You’ve noticed your child sitting in front of the steering wheel, pretending to drive? You can build them their own car out of recycled materials, which they will love.
Materials:
- Cardboard box
- Paper plates
- Toilet rolls
- Bottle caps
- Glue
- Scissors
Directions:
- Get any size box that will fit your child. The wheels are made of paper plates glued to the box’s side.
- To make the steering wheel, take a paper roll and glue one side to a paper plate and the other to the cardboard box.
- For headlights, cut down some plastic cups and glue them over circles of yellow construction paper.
- If your child wants to colour their car in any colour, they can use colour markers or paint.
- Let your child drive their way, but keep an eye out for speeding tickets.
Row, Row, Row Your Recycled Boat
When you get an egg carton and think you can use it in some crafts, here’s an idea that your child will enjoy expressing their creative energy in.
Materials:
- Egg Cartons
- Straws
- Paper
- Scissors
- Paint
Directions:
1. Cut into the egg carton depending on the boat size you want.
2. Get your child’s favourite colour and let them start painting their way.
3. While the paint is drying, cut the paper into triangles and punch holes in the upper and lower sides.
4. Make a hole in the cartoon to insert the straw and paper roof of the boat.
5. There, you have a boat ready to sail its way.
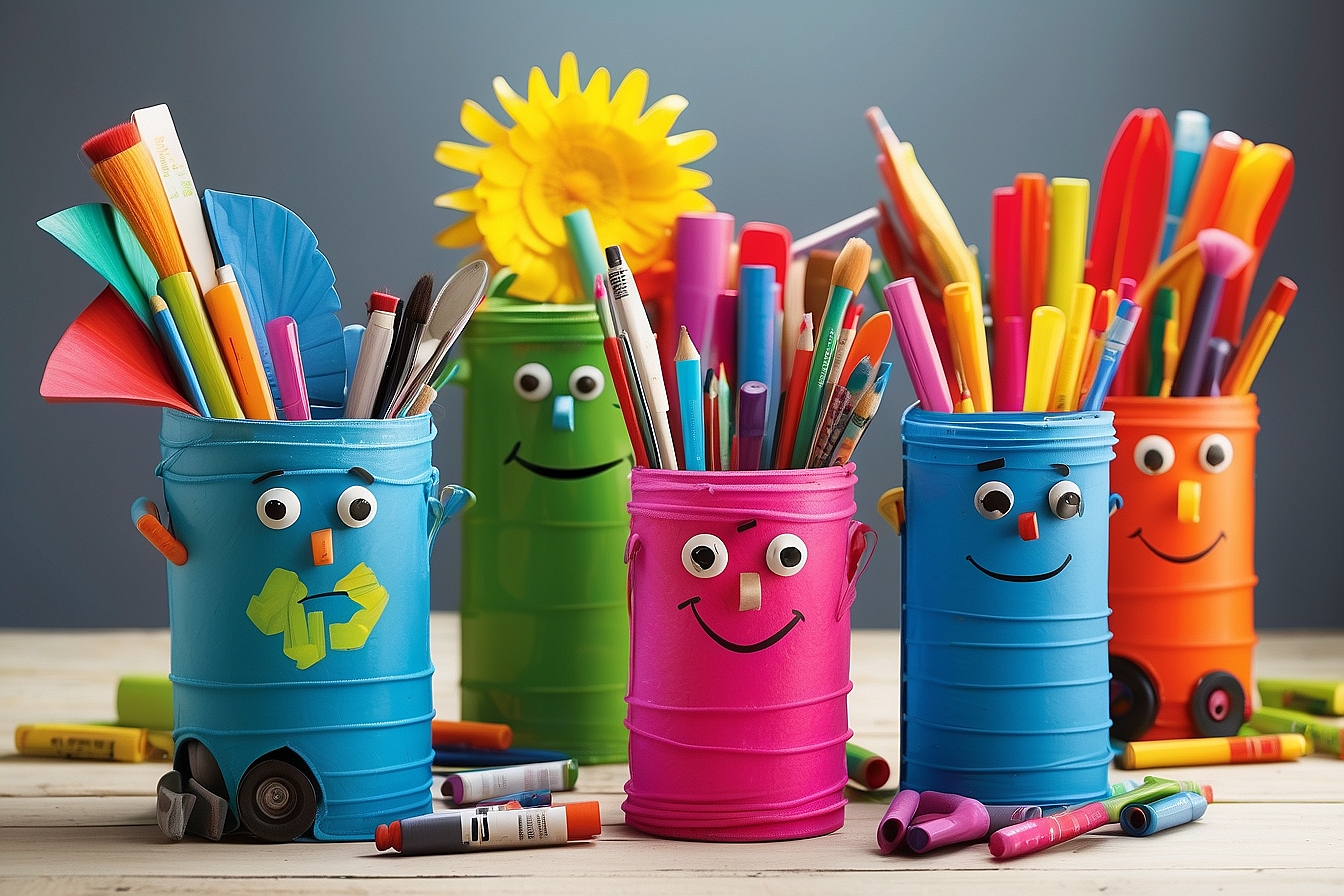
2 Recycling Crafts: Making Flower Crafts
Recycled Water Bottle Flower
Instead of picking flowers from the garden, try this simple craft that doesn’t require going to the store for supplies. I’m sure you have most or all of the supplies you need right at home.
Materials:
- Water bottles
- Scissors
- Paint
- paintbrushes
- Yellow pom-poms
- Glue
- Green straws
- Green construction paper
Directions:
1. Cut the water bottle ends off.
2. Paint the inside of the bottle ends and allow them to dry.
3. Use green construction paper to cut out some small leaf shapes.
4. Cut your straws to the length you want and glue them to the back of the bottle end.
5. Turn the bottle end around, glue the flower’s middle part with a yellow pom-pom, and glue the green construction paper to the straws to look like leaves.
6. Now you have lovely flowers to place in a vase.
Recycled Fork Tulips
Fork tulips are the simplest recycled craft you can make; let’s see how we can do it and make sure you have a lovely matching vase for these scent-free flowers.
Materials
- Plastic forks
- paint colours
- Green construction paper
- Scissors
- Glue
Directions:
1. Get your plastic fork and paint the end of the fork green.
2. Paint the top part with a brush or dip in the paint. Let dry.
3. Cut out leaf-shaped strips of green paper. Glue onto the stem.
4. Voila! colourful tulip forks
Fun Recycling Crafts for Kids: FAQ (Frequently Asked Questions)
Q: What if my child is too young to use scissors or other tools safely?
A: Many recycling crafts are suitable for young children without requiring sharp tools. Focus on activities involving tearing, gluing, sorting, and decorating with safe materials like paper, cardboard, and fabric scraps.
Q: Are there any crafts that are not recommended for young children?
A: Crafts involving small objects, sharp tools, or potentially harmful materials should be avoided with younger children. Always prioritize age-appropriate activities and materials.
Q: What are some alternatives to non-toxic paints and glues?
A: You can make your own natural paints and glues using safe ingredients like flour, water, and food coloring. Look for eco-friendly and biodegradable options when purchasing store-bought materials.
Q: How can I encourage my child to be more creative with their recycling crafts?
A: Provide open-ended instructions and encourage experimentation. Offer various materials and let them explore different combinations and techniques. Ask open-ended questions and brainstorm ideas together.
Q: Where can I find more inspiration for recycling crafts?
A: Explore online resources like Pinterest, websites dedicated to children’s crafts, and educational blogs. Many libraries offer craft books and magazines for inspiration.
That’s All for Now
We hope your children enjoyed making these recycled crafts as much as we enjoyed sharing them with you. And hopefully, this has developed in your child a love of recycling and art.
Leave a Reply