Setting up a DIY home art studio can transform the way you approach creativity and learning. Whether you’re a teacher developing resources, a parent supporting children’s artistic development, or simply someone passionate about creative pursuits, having a dedicated space makes all the difference. A well-planned DIY home art studio provides a sanctuary where ideas flourish, and artworks come to life.
Creating your own home art studio doesn’t require a vast space or an enormous budget. By considering practical aspects such as lighting, organisation, and personalisation, even a spare room or quiet corner can become a productive, creative environment. This guide draws on educational expertise to help you design a space that works for your specific needs.
Planning Your DIY Home Art Studio Space
Before purchasing supplies or furniture, assess the space you have available. Your home art studio might occupy a spare bedroom, a section of your garage, a part of your dining room, or even a basement. Each location presents different opportunities and challenges.
Determining the Size
Your DIY home art studio should provide enough space to move freely and work on various projects without feeling cramped. Take careful measurements of your intended area, noting the ceiling height, door widths, and any architectural features such as radiators or built-in cupboards.
Consider how the room’s dimensions can support different artistic activities. A space measuring at least 2.4m x 2.4m provides room for a worktable, storage, and movement. However, even smaller spaces can function effectively with clever planning.
For UK homes, the typical “box room” measuring around 2m x 2.5m can serve as an excellent home art studio with vertical storage solutions. Victorian terrace homes often have awkward-shaped rooms that, with thoughtful arrangement, become characterful, creative spaces.
Choosing the Location
Selecting the right location for your DIY home art studio involves balancing natural light, convenience, and the nature of your art practice. A basement may offer a large area, but consider light and ventilation carefully. Converting a dining room means easy accessibility, but you must consider shared space implications.
“A dedicated space for creation can have a profound impact on artistic productivity and inspiration,” says Michelle Connolly, founder of LearningMole, with 16 years of classroom experience. “Even a small, well-organised area beats working at the kitchen table every time.”
When planning your home art studio, think about:
Proximity to water sources: Useful for cleaning brushes and mixing materials.
Floor covering: Hard floors are easier to clean than carpets.
Noise considerations: Will your work disturb others or vice versa?
Temperature control: Consistent temperatures protect materials and make working comfortable.
Storage access: Can you easily move supplies in and out?
Essential Supplies for Your Home Art Studio
Setting up a home art studio requires carefully selecting supplies that support your creativity. Quality matters, but you don’t need to purchase everything at once. Build your collection gradually, prioritising items you’ll use regularly.
Selecting the Right Furniture
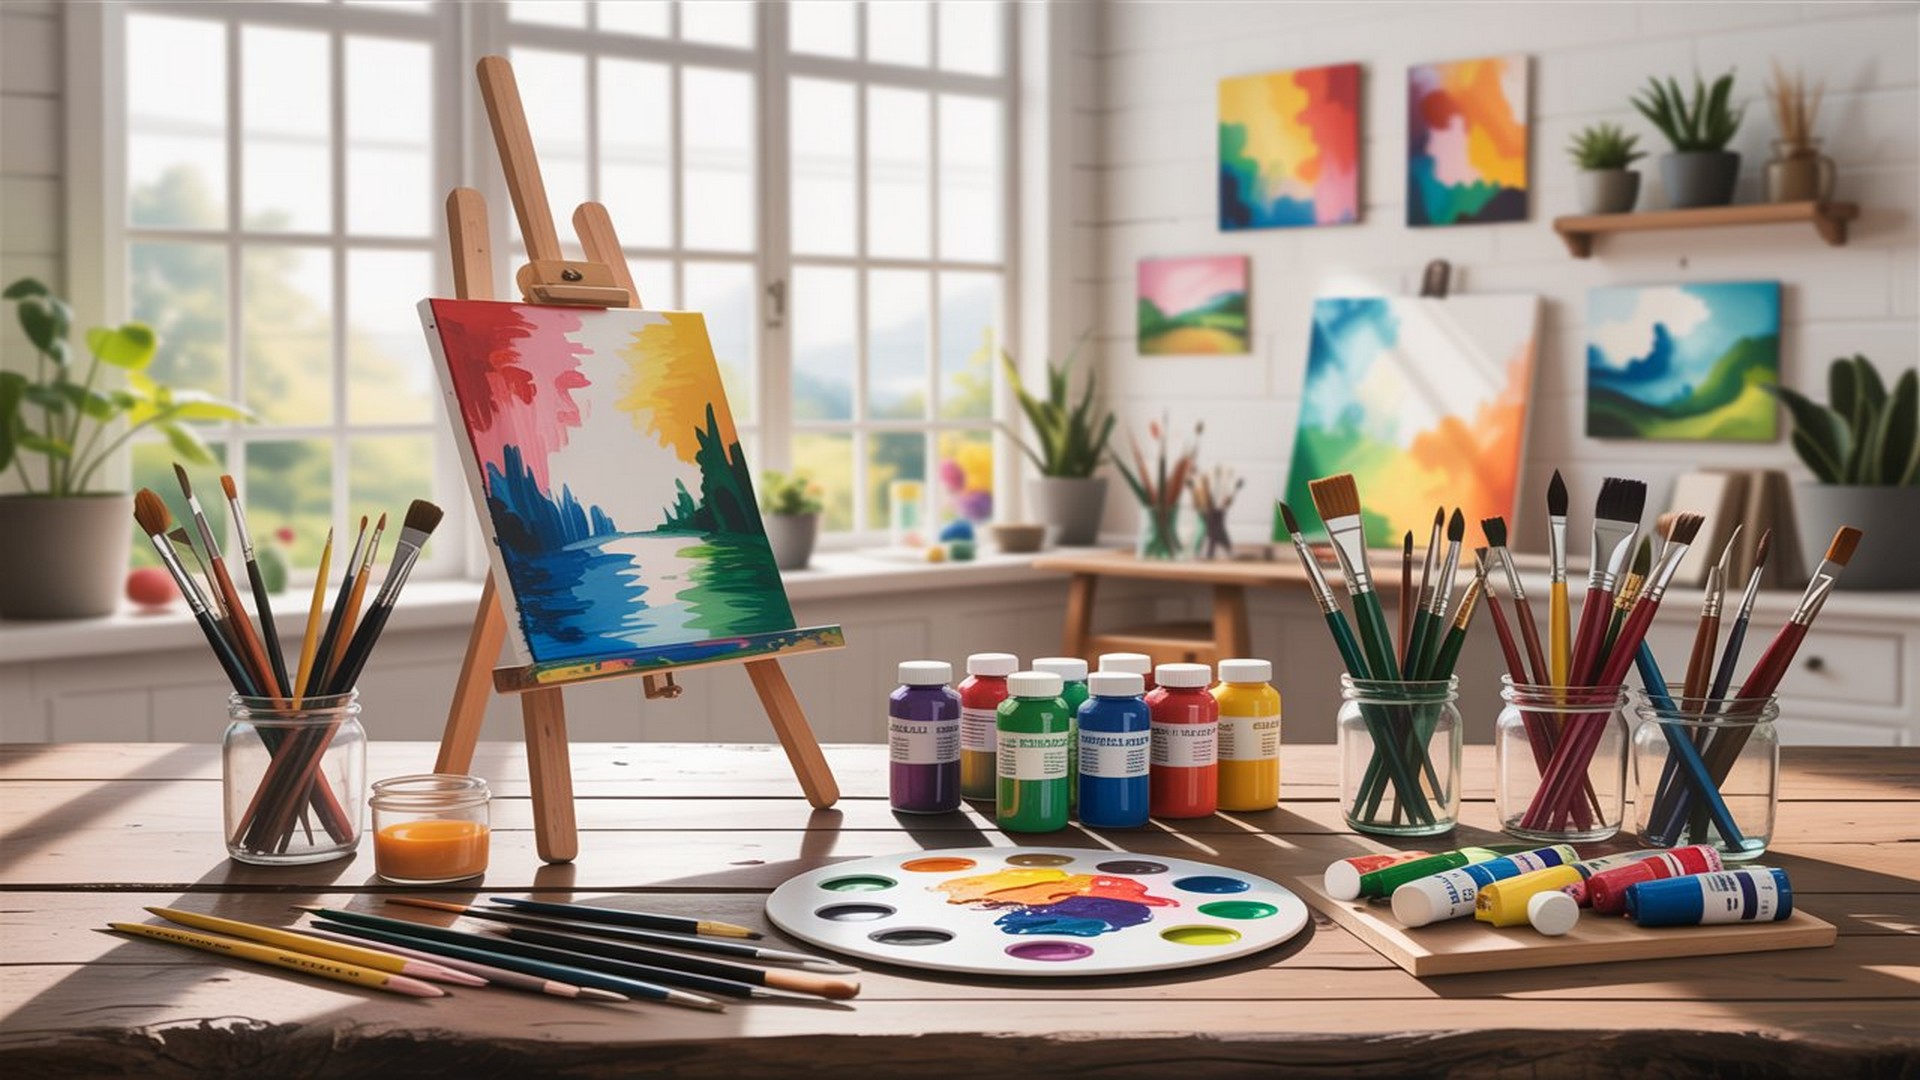
An easel provides a stable work surface for canvases and is adjustable for various sizes. When choosing an easel for your home art studio, look for one that’s sturdy and can accommodate the scale of work you plan to create.
Your DIY home art studio needs a table with ample surface area for laying out papers, mixing paints, and working on projects. A height-adjustable table adapts to different tasks, whether you’re sitting or standing. Many teachers find that a large, flat surface serves multiple purposes, from lesson planning to creating resources.
Shelving or cabinets are necessary for storing supplies and keeping your home art studio organised. Open shelving displays materials attractively while keeping them accessible. Closed cabinets protect items from dust and create a tidier appearance when needed.
An ergonomic chair supports proper posture during long creative sessions. This is particularly important for detailed work requiring sustained concentration. Choose a chair with adjustable height and good lumbar support.
Organising Paints and Brushes
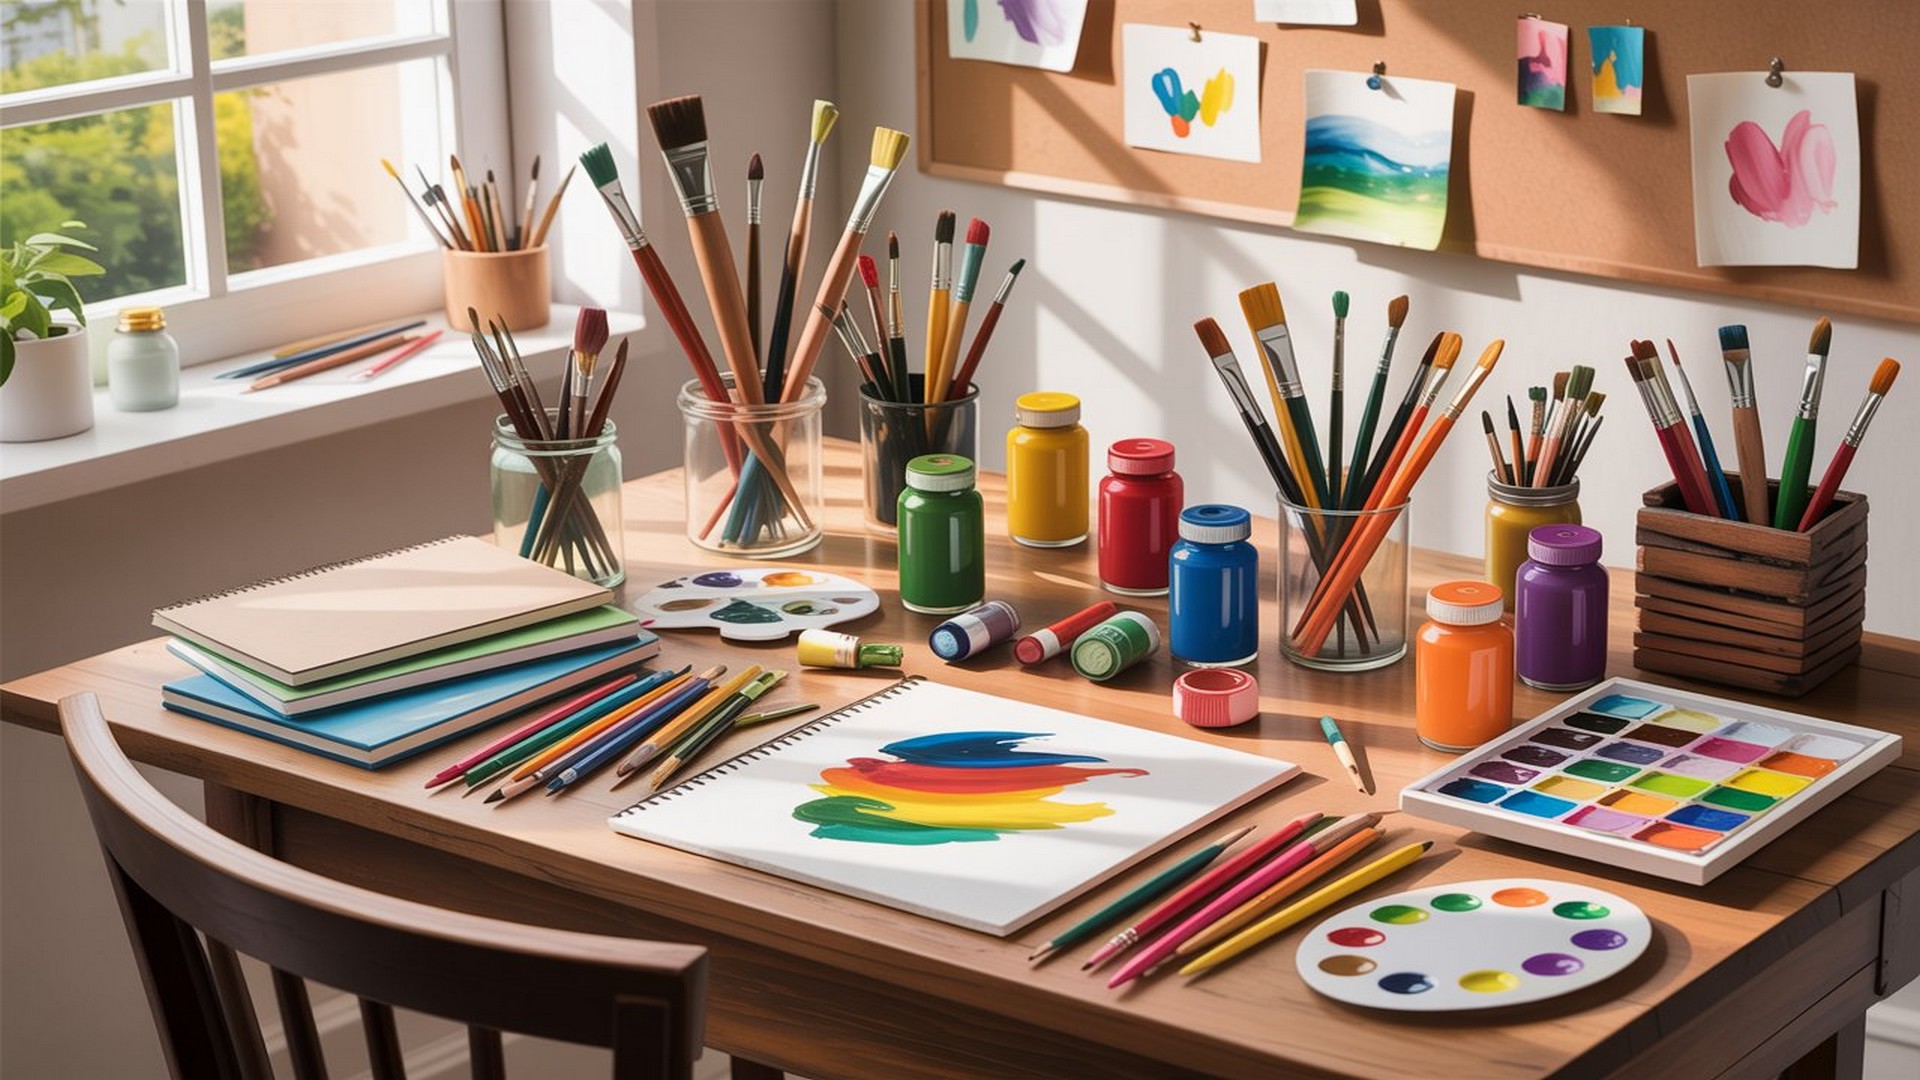
To keep paints within reach in your home art studio, use a shelf or trolley that allows you to sort by colour or medium. Clear storage containers let you see contents at a glance, reducing time spent searching for specific colours.
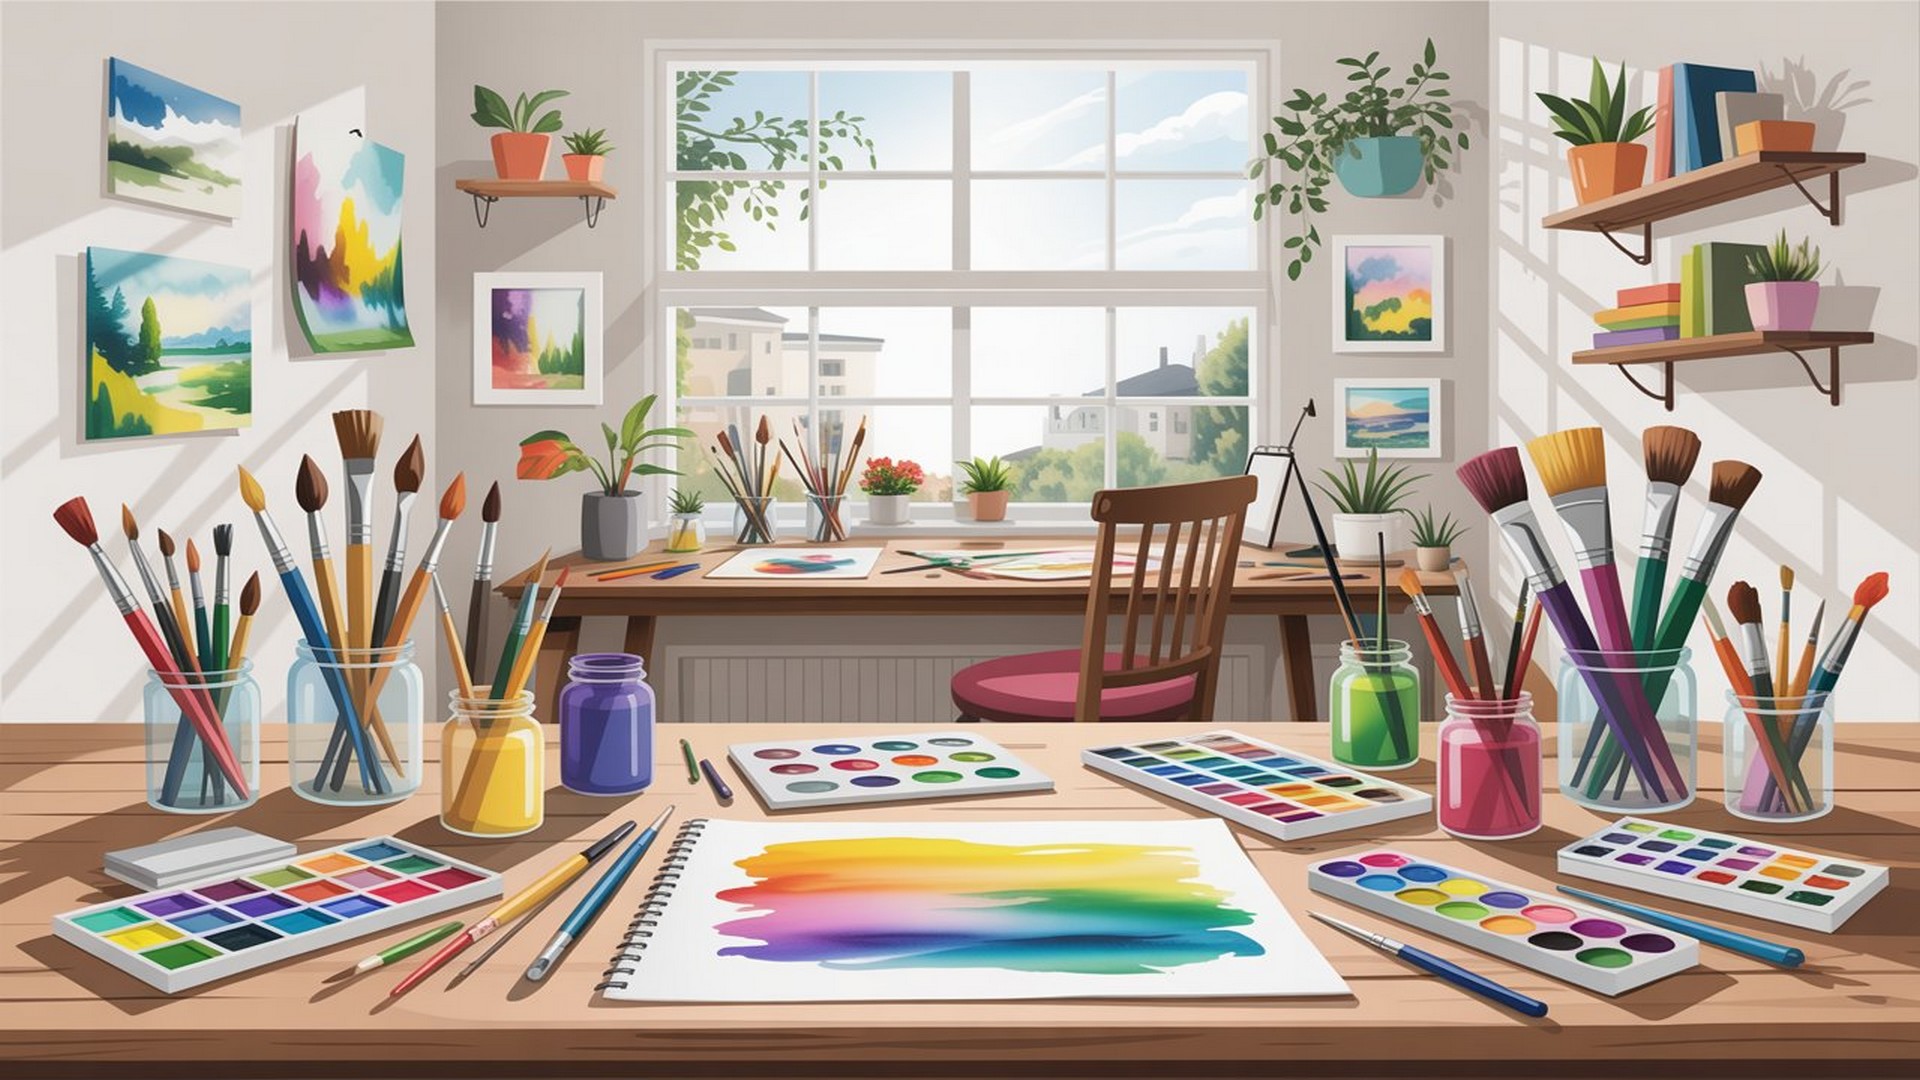
Store brushes upright in holders or lying flat in drawers to maintain their shape. Group brushes by size or type for easy selection. A simple jar or purchased brush holder works equally well.
Use a combination of containers and racks to organise equipment in your DIY home art studio, ensuring that frequently used items are easily accessible. Labels help maintain organisation, especially when multiple people use the space.
For UK educators using a home art studio to create teaching resources, organisation becomes even more critical. Separate materials by subject area or Key Stage to streamline lesson preparation.
Lighting Your DIY Home Art Studio
Proper lighting for your DIY home art studio is fundamental to creating an environment where your creativity can flourish. It involves balancing natural and artificial light sources to ensure your workspace is well-lit without creating glare or shadows.
Window Arrangements
Position your workspace to take advantage of natural light. In the UK, north-facing windows provide stable, consistent light that doesn’t change intensity dramatically throughout the day. This consistency is valuable for colour-matching work.
The placement of windows significantly affects the evenness of light distribution in your DIY home art studio. Ideally, windows should not be obstructed by furniture or other items. Consider using sheer curtains to diffuse direct sunlight, thereby achieving soft, uniform illumination.
If your home art studio has south-facing windows, you’ll experience brighter light but with more variation throughout the day. This can work well for certain activities but may require supplementary artificial lighting for consistent colour work.
Artificial vs Natural Light
While natural light is preferred for accurate colour rendition, you’ll often need to rely on artificial light in your DIY home art studio. The colour rendering index (CRI) of bulbs you choose should be as close to 100 as possible, indicating a spectrum similar to daylight.
Bulbs with 5000K (Kelvin) colour temperature mimic the cool, blue hue of natural daylight and work well for a DIY home art studio. These are widely available from UK suppliers, including Screwfix and Toolstation.
For detailed work in your home art studio, aim for lighting levels of around 500-750 lux at your work surface. This provides adequate illumination without causing eye strain.
Studio Lighting Solutions
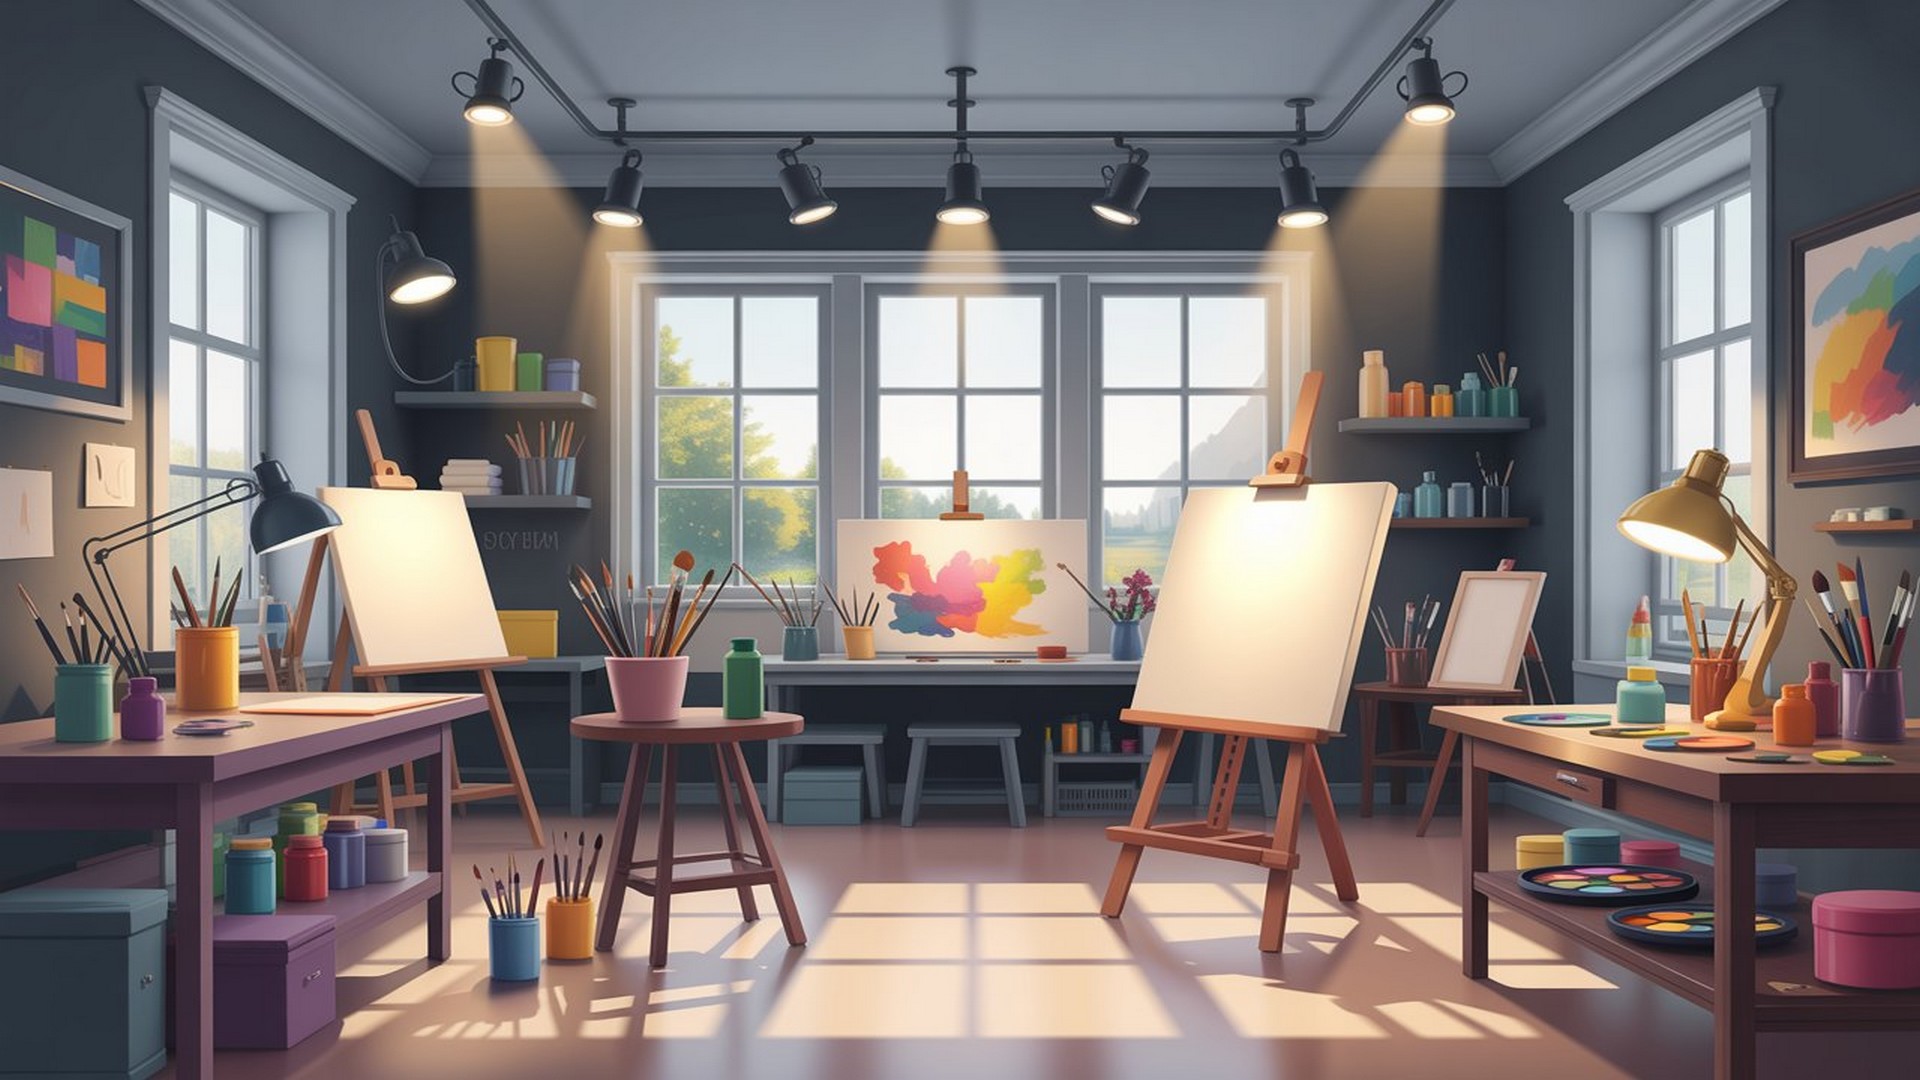
Install adjustable lighting fixtures in your DIY home art studio to cater to different types of projects. LED task lights or track lighting systems offer flexibility and can be adjusted to highlight or diminish certain areas.
You should have the ability to control the brightness and colour temperature of lights to ensure optimal visibility and minimal colour distortion in your home art studio. Dimmer switches allow you to adjust lighting levels based on the time of day and specific tasks.
Position task lighting to avoid casting shadows across your work surface. In your DIY home art studio, place lights slightly above and to the side of your dominant hand to minimise shadows when working.
Storage Strategies for Your DIY Home Art Studio
Efficient organisation in your DIY home art studio allows you to focus more on creating and less on searching for supplies. Smart storage strategies maximise space whilst keeping materials handy and your workspace clutter-free.
Utilising Vertical Space
Vertical storage transforms wall space into a functional part of your home art studio. Installing floating shelves at varying heights keeps frequently used items within reach whilst storing bulkier, less-used supplies up high.
For a customisable approach in your home art studio, consider a pegboard with adjustable hooks and shelves. This versatile system adapts to your changing needs as your practice develops.
Mount a series of narrow shelves above your worktable in your DIY home art studio for paints and brushes, ensuring they’re easily accessible. This keeps valuable table space clear for active projects.
In UK homes where space is at a premium, vertical storage in your DIY home art studio makes practical sense. Wall-mounted magnetic strips hold metal tools, whilst hanging baskets store lightweight materials.
Creative Storage Solutions
Explore practical storage solutions to make the most of your home art studio space. Furniture with built-in storage, such as drawers or cubbies, seamlessly integrates your storage system into the workspace.
Storage baskets and containers can be hidden under tables or stacked to keep materials dust-free and organised in your DIY home art studio. Clear plastic boxes work particularly well, allowing you to identify contents without opening each container.
“A trolley with wheels can be your best friend in a small space,” suggests Michelle Connolly. “It allows you to move your supplies to and from your work area effortlessly, which is particularly useful when your DIY home art studio serves multiple purposes.”
Fit a rolling cart with labelled storage baskets for each type of material in your home art studio. This keeps everything categorised and mobile, allowing you to work in different areas as needed.
For teachers creating resources in a home art studio, consider separating materials by curriculum area. Dedicate specific containers or shelves to maths manipulatives, science materials, literacy resources, and art supplies.
Maintaining a Creative Environment
Crafting a DIY home art studio is about more than supplying the right tools. It’s about shaping an environment that breathes life into your creative spirit and supports productive work.
Decor and Inspiration
Your decor plays a significant role in maintaining a stimulating environment in your DIY home art studio. Carefully select pieces that reflect your artistic aspirations, whether they be vibrant artworks, motivational quotes, or a curated shelf of inspirational reading.
Align your DIY home art studio with your unique style. Hanging artwork that resonates with your aesthetic creates a backdrop that fuels imagination. For educators, displaying children’s work provides motivation and reminds you of your purpose.
Use colours strategically in your home art studio to define areas of activity or contemplation. Warm colours like yellow and orange can energise a space, whilst cool blues and greens create calm. Neutral backgrounds allow your work to take centre stage.
Arrange tools and materials aesthetically in your DIY home art studio so they’re not just functional but form part of your decor. Beautifully displayed supplies can spark creativity before you even begin working.
Incorporating Elements of Nature
Introducing natural elements into your DIY home art studio can benefit your mindset and the overall atmosphere. Plants not only enliven a room with colour and texture but also purify the air, making for a healthier environment.
Consider low-maintenance plants for your DIY home art studio if you’re busy. Spider plants, pothos, and peace lilies thrive with minimal attention whilst improving air quality.
You might also include natural materials like wood or stone in your home art studio to ground your space and connect it with the earth’s inherent creativity. A wooden work surface or stone paperweights add organic textures.
“Bringing the outdoors in can be transformative, helping to break down the barriers between the natural and creative worlds,” shares Michelle Connolly. “It’s about creating a synergy with the world around you to strengthen your creative pursuits.”
Functional Design Elements
Your DIY home art studio is a personal retreat where creativity meets practicality. These design elements focus on maximising your space’s functionality without sacrificing comfort.
Efficient Layout for Access and Flow
Positioning your work area is key to efficiency in your home art studio. A central table ensures easy access to tools and materials, promoting seamless movement. Consider incorporating a mobile workstation, such as a rolling cart, which can be moved as needed.
Think about the sequence of activities in your DIY home art studio. Place materials storage near your work surface, with cleaning facilities close by. This logical flow reduces unnecessary movement and keeps you focused on creative work.
In your home art studio, create distinct zones for different activities. Designate one area for messy work, like painting, another for clean activities, like drawing or computer work, and a third for storage and preparation.
Ergonomics in the Studio
The value of an ergonomic chair cannot be overstated in your DIY home art studio. It supports proper posture and reduces strain during long hours of creating. “A well-chosen chair is the backbone of productivity,” advises Michelle Connolly.
Coupling your chair with a standing desk in your home art studio allows flexibility, prompting you to alternate between sitting and standing to maintain physical comfort whilst working. This is particularly valuable for teachers who may spend long periods creating resources.
Position your work surface at the correct height in your home art studio. When sitting, your elbows should be at roughly 90 degrees when your hands rest on the surface. When standing, the surface should be at or slightly below elbow height.
Consider anti-fatigue mats for standing work in your home art studio. These cushioned mats reduce pressure on feet and legs, making extended standing periods more comfortable.
Workspace Boundaries
Creating an effective home art studio hinges on setting clear workspace boundaries to ensure privacy and maintain productivity.
Establishing a Private Workspace
To forge a space that’s truly yours, consider the physical layout of your DIY home art studio. Identify a dedicated area in your home that can be converted. Use room dividers or curtains to demarcate this space if a separate room isn’t available.
Make this distinction clear to others in the home to preserve the sanctity of your DIY home art studio as your creative domain. This is particularly important for teachers working from home who need to separate their professional and personal lives.
In your home art studio, establish visual boundaries even in shared spaces. A specific rug, different lighting, or distinct colour scheme can psychologically separate your creative area from the rest of the room.
Balancing Home and Studio Life
Balance is key in harmonising your living space with your DIY home art studio. Keep your workflow productive and home life undisturbed by setting specific work hours and adhering to them.
This structure in your DIY home art studio not only builds discipline but also helps manage the expectations of those you live with. Family members learn when you’re available and when you need uninterrupted creative time.
Michelle Connolly advises, “Blending home and work can be challenging, but with a well-structured schedule, you can build a flourishing space that encourages productivity.” Implement these boundaries to sustain your creative output whilst enjoying the comforts of home.
For educators using a home art studio, set boundaries around term time and holidays. This helps prevent burnout and ensures you maintain enthusiasm for both teaching and creative work.
Air Quality and Ventilation
In your DIY home art studio, maintaining excellent air quality and ensuring proper ventilation is important for a healthy and productive creative environment.
Effective Airflow Systems
To achieve effective airflow in your home art studio, consider the layout. Arrange your workspace so there’s a clear path for air to circulate. Position your work area near windows when possible.
Implement a combination of natural and mechanical ventilation methods in your DIY home art studio. Open windows provide fresh air, whilst fans or a heat recovery ventilator help maintain a constant flow, reducing the build-up of airborne pollutants common in art materials.
For a DIY home art studio in the UK, consider the damp climate. Good ventilation prevents condensation and protects materials from moisture damage. A dehumidifier may be necessary in particularly damp rooms.
Choosing an Air Purifier
When selecting an air purifier for your home art studio, opt for a model that suits the room size and targets specific contaminants you may encounter, such as paint fumes or dust.
A purifier with a HEPA filter is effective at trapping fine particles in your DIY home art studio, whilst activated carbon filters help remove volatile organic compounds from the air. Invest in a quality device that meets your specific needs.
For teachers creating resources in a DIY home art studio, air quality is particularly important when working with materials like markers, glues, and spray adhesives. An air purifier protects your health during extended work sessions.
Personalising Your DIY Home Art Studio
Creating a space that inspires creativity is fundamental. This means infusing your personality into every corner, ensuring your home art studio is not just a room but a sanctuary of creativity.
DIY Decor Projects
To make your own decor for your DIY home art studio, consider hand-painted canvases that add colour to white walls. You could paint geometric shapes for a modern look or abstract splashes for a more expressive look.
Create a canvas collage in your DIY home art studio by collecting scraps from old paintings and arranging them into a wall-mounted work of art. Build and decorate shelves that not only hold supplies but also act as artwork themselves.
Display your work-in-progress in your home art studio. This serves as both decoration and motivation whilst adding visual interest to the space.
Selecting Colours and Fabrics
Choosing the right colours and fabrics influences your mood and creativity in your DIY home art studio. Opt for curtains that let in natural light while also inspiring with their colour and patterns.
Consider using drop cloths as an inexpensive fabric option for making customised curtains in your DIY home art studio. These heavy-duty fabrics are durable and create an artistic aesthetic.
Transform your home art studio into a place that fuels your artistry, with each element reflecting your creative spirit whilst maintaining functionality.
Multifunctional Equipment and Accessories
To optimise your DIY home art studio space, integrating multifunctional equipment and accessories is key. These elements save space and enhance the versatility of your creative environment.
Convertible Furniture for Flexibility
Invest in convertible furniture to make the most out of your DIY home art studio. A foldable drying rack serves as an art piece display and can be tucked away when not in use.
Shelving units with adjustable heights in your home art studio accommodate projects of all sizes, ensuring that all your equipment has its place. This flexibility is particularly valuable as your creative practice develops.
Consider furniture that serves multiple purposes in your DIY home art studio. A storage ottoman provides seating while hiding supplies. A desk with built-in filing drawers keeps administrative tasks organised alongside creative work.
Creative Tools for Various Media
Your selection of tools reflects the diversity of your creative pursuits in your DIY home art studio. A sturdy tripod is useful for steady work, holding canvases for painters or serving as a stand for documentation photography.
Look for accessories like modular trays or holders that can be attached to furniture in your home art studio, keeping materials within reach whilst you work in multiple media.
For teachers developing resources in a DIY home art studio, consider equipment that serves both creative and documentation purposes. A good camera or scanner helps you photograph finished resources for digital distribution.
Setting Up Your DIY Home Art Studio
With planning complete, it’s time to set up your DIY home art studio. Following a systematic approach ensures you create a functional space efficiently.
Start by thoroughly cleaning your chosen area. Remove everything from the room if possible, allowing you to start fresh in your DIY home art studio. Paint walls if needed, choosing colours that support your creative work.
Position large furniture pieces first in your DIY home art studio, starting with your main worktable. Ensure you can move comfortably around it and that it’s positioned for optimal lighting. Add storage solutions, working from large pieces like shelving units down to smaller organisational containers.
Personalise your DIY home art studio with decor, plants, and inspirational items. This transforms a functional workspace into a space that truly reflects your creative identity.
Once established, maintaining your DIY home art studio ensures it remains productive. Schedule regular cleaning sessions, dust surfaces, and wipe down work areas. Implement a “clean as you go” policy to prevent overwhelming messes.
Using Your DIY Home Art Studio for Educational Resources
For teachers and educators, a DIY home art studio serves as an ideal space for developing engaging educational resources. The dedicated creative environment supports focused work on materials that benefit learners.
In your DIY home art studio, you can create visual aids for lessons across the curriculum. Use the space to develop hands-on learning materials, such as maths manipulatives, science models, and visual resources for literacy lessons.
Your DIY home art studio provides space to photograph and document resources professionally. Good lighting and a clean backdrop help you create images suitable for sharing with colleagues or selling on educational platforms.
“Having a dedicated space for resource creation has transformed how I approach lesson planning,” notes Michelle Connolly. “The DIY home art studio allows me to be more creative and ambitious with the materials I develop.”
Store resources by Key Stage or subject area in your DIY home art studio, making it easy to locate materials when planning lessons.
Budgeting for Your DIY Home Art Studio
Creating a DIY home art studio doesn’t require a huge investment. With careful planning, you can establish a functional creative space on any budget.
Start with essentials: a work surface, adequate lighting, and basic storage. These can often be sourced affordably from charity shops, Facebook Marketplace, or budget retailers like IKEA.
Gradually add to your DIY home art studio as budget allows. Consider DIY solutions for furniture and storage. Simple shelving can be constructed from reclaimed wood, bringing character whilst saving money.
Shop sales and end-of-line offers for supplies. Art retailers like Cass Art and Hobby Craft regularly offer discounts. For UK educators, remember that schools often offer professional development funds that might support your DIY home art studio if it aids your teaching practice.
Adapting Your DIY Home Art Studio Over Time
Your DIY home art studio should develop alongside your creative practice. Regular assessment ensures the space continues to serve your changing needs.
Annually review your layout. Are there areas of congestion? Do certain tools get lost? Use these observations to inform adjustments. Be willing to experiment with different arrangements, as simple furniture repositioning can dramatically improve workflow.
If your DIY home art studio serves multiple purposes, consider seasonal adjustments. During term time, focus on resource creation for teaching. During holidays, the space could shift towards personal projects.
Conclusion: Creating Your DIY Home Art Studio
Establishing a DIY home art studio represents an investment in your creativity and, for educators, in your professional practice. This dedicated space, regardless of size, provides the foundation for focused, productive, creative work.
Your DIY home art studio doesn’t need to be perfect from day one. Start with the basics and allow the space to develop naturally as you use it. Each adjustment brings you closer to an environment that truly supports your creative vision.
Remember that the best DIY home art studio is one that you actually use. Functionality matters more than aesthetics, though there’s no reason you can’t have both. Create a space that welcomes you in and makes you want to work.
Whether you’re developing educational resources, pursuing personal artistic projects, or supporting children’s creative development, your DIY home art studio provides the dedicated environment these activities deserve. Take the first step today, and watch how a thoughtfully designed space transforms your creative practice.
For more inspiration for creative learning and educational resources, explore LearningMole’s extensive collection of teaching materials and videos that support creativity across all Key Stages.
Maths Circus, an innovative platform we've crafted, presents a captivating realm where children learn mathematics through the exciting theme of a circus. The joy of juggling numbers and solving circus...
The 9 times table multiplication has a reputation for being tricky, yet it holds more mathematical magic than any other table in the primary curriculum. Every answer follows two neat...
Article Summary What this article covers: Ten differences between river otters and sea otters, from size, fur and swimming style to diet, tool use and family life, plus which otter...
Article Summary What this article covers: The nine main types of natural disasters, how each one works and how they are measured, which hazards genuinely affect the UK, and how...






Leave a Reply