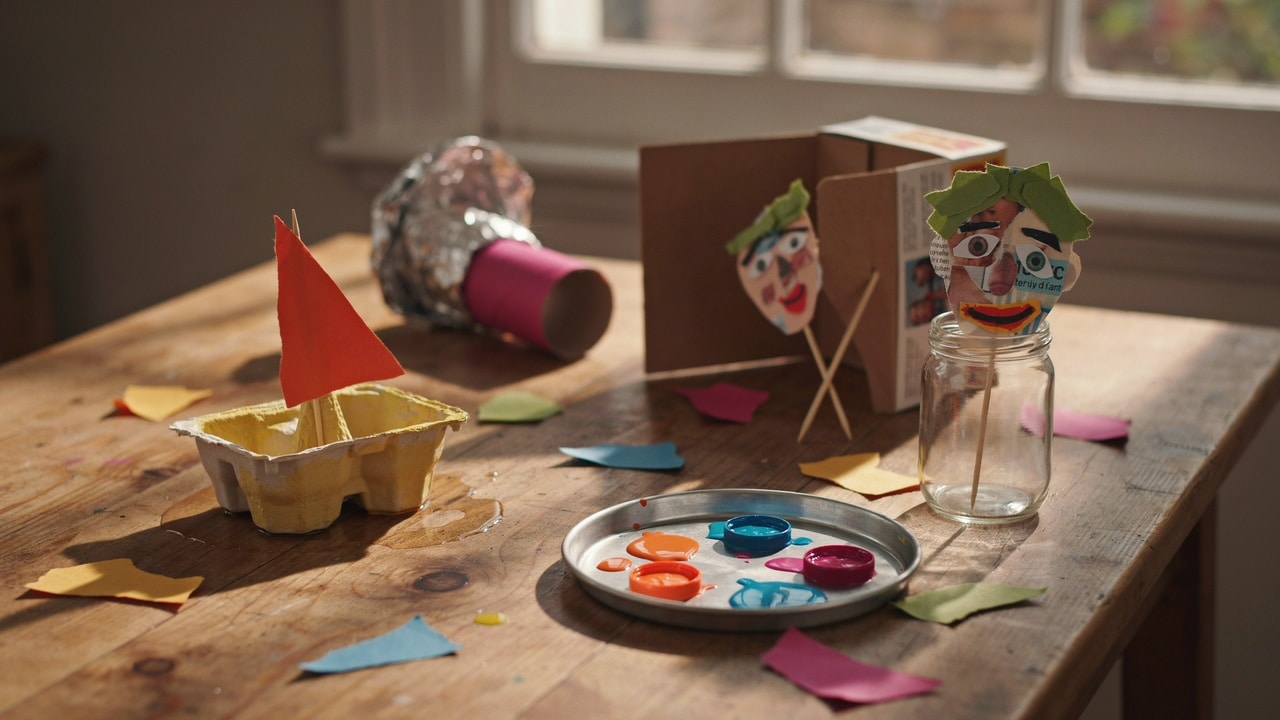
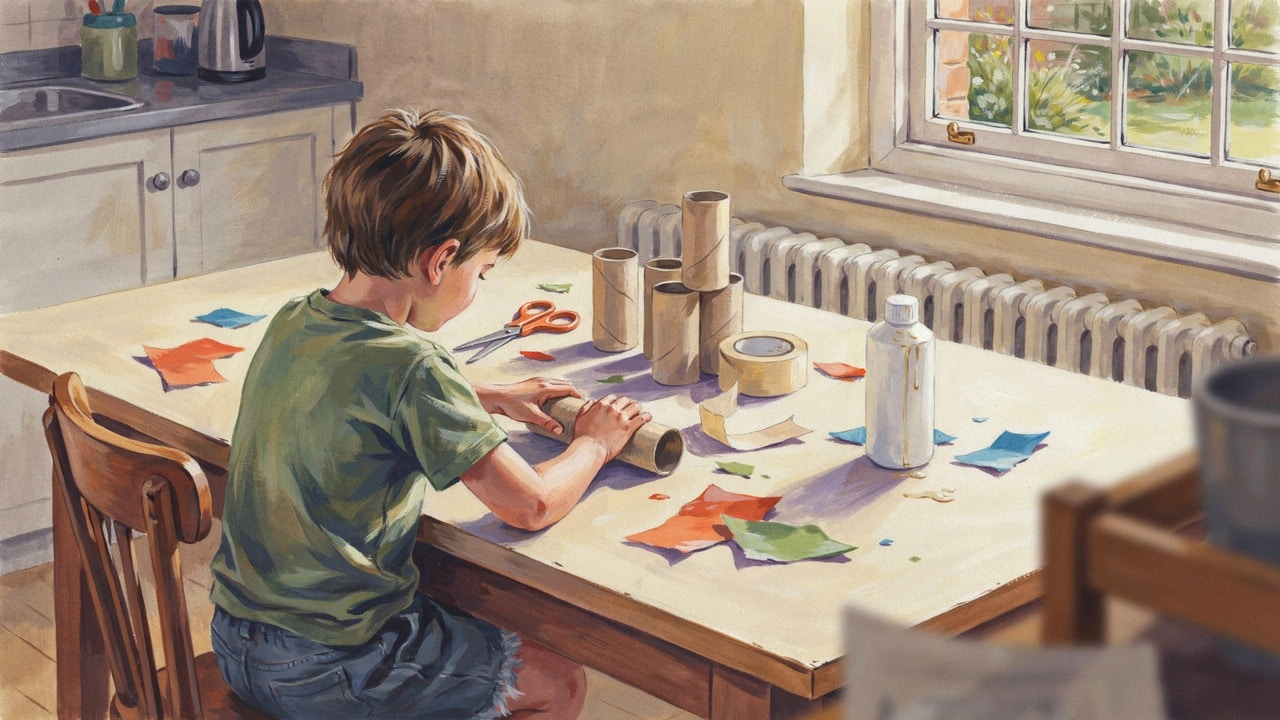
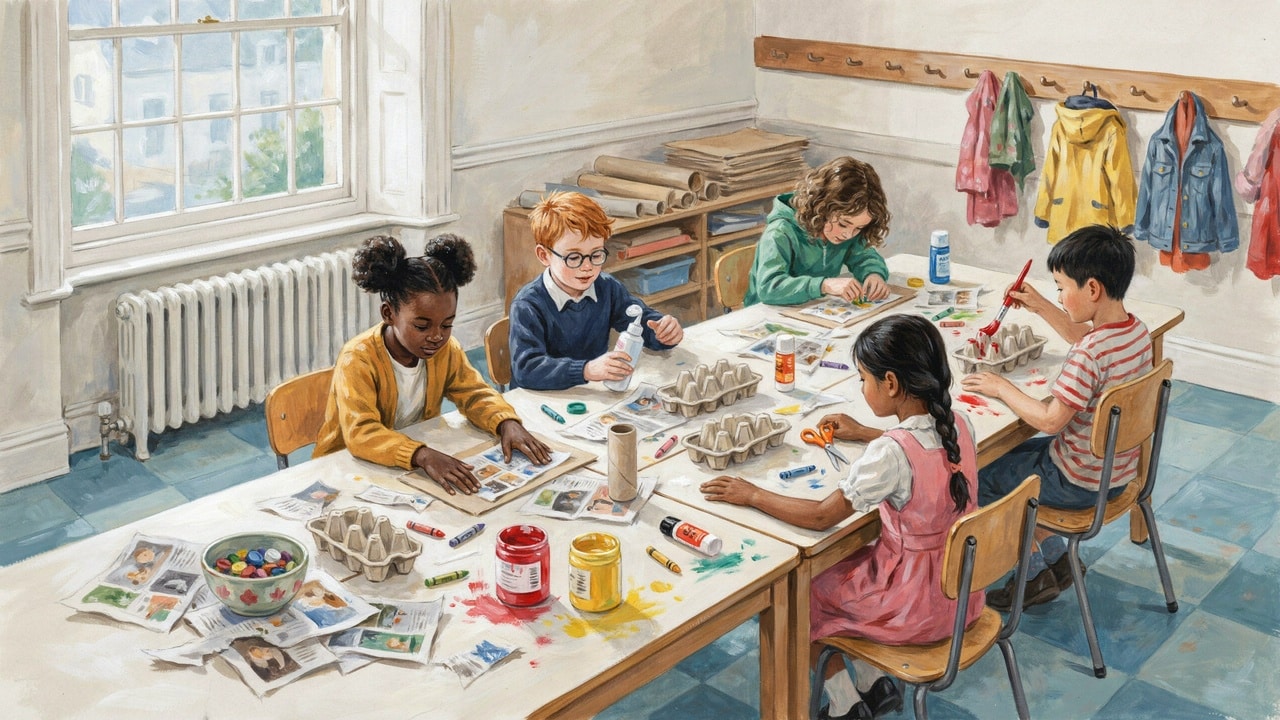
The half-term afternoon when a child announces they are bored is usually the moment a screen appears. Five handmade crafts, built from what is already in your kitchen cupboard and recycling box, will fill that afternoon and build the skills the UK National Curriculum expects primary children to develop in Art and Design and in Design and Technology. No craft kit, no shopping trip, and no glitter to hoover out of the carpet in August.
What separates these five from the hundreds of craft lists online is that each one has a stated learning purpose. A kitchen roll kaleidoscope shows children how light reflects. A cereal box shadow theatre demonstrates why shadows form. Bottle top stamps teach pattern and printing, which is a named requirement of the Key Stage 1 Art and Design programme of study. Knowing what a craft is for changes how you talk to a child while they make it, and that conversation is where most of the learning actually happens.
LearningMole is a UK educational platform providing curriculum-aligned teaching resources for primary schools, and this guide is written the way we would brief a teaching assistant: a materials list, steps a child can follow independently, the skill being practised, and a note on how to stretch or simplify each activity. Everything here suits children aged 4 to 11, at home or in the classroom, with adult supervision for cutting.
Why Handmade Crafts Build Real Primary Skills
Crafting builds fine motor control, bilateral coordination and spatial reasoning, three things that underpin handwriting, PE and early geometry. This is why craft sits in the statutory curriculum rather than in the box marked “fun extras”. A child who has spent an hour cutting, folding and sticking has done targeted physical practice, whether or not the finished object survives the week.
Fine Motor Skills and the Handwriting Connection
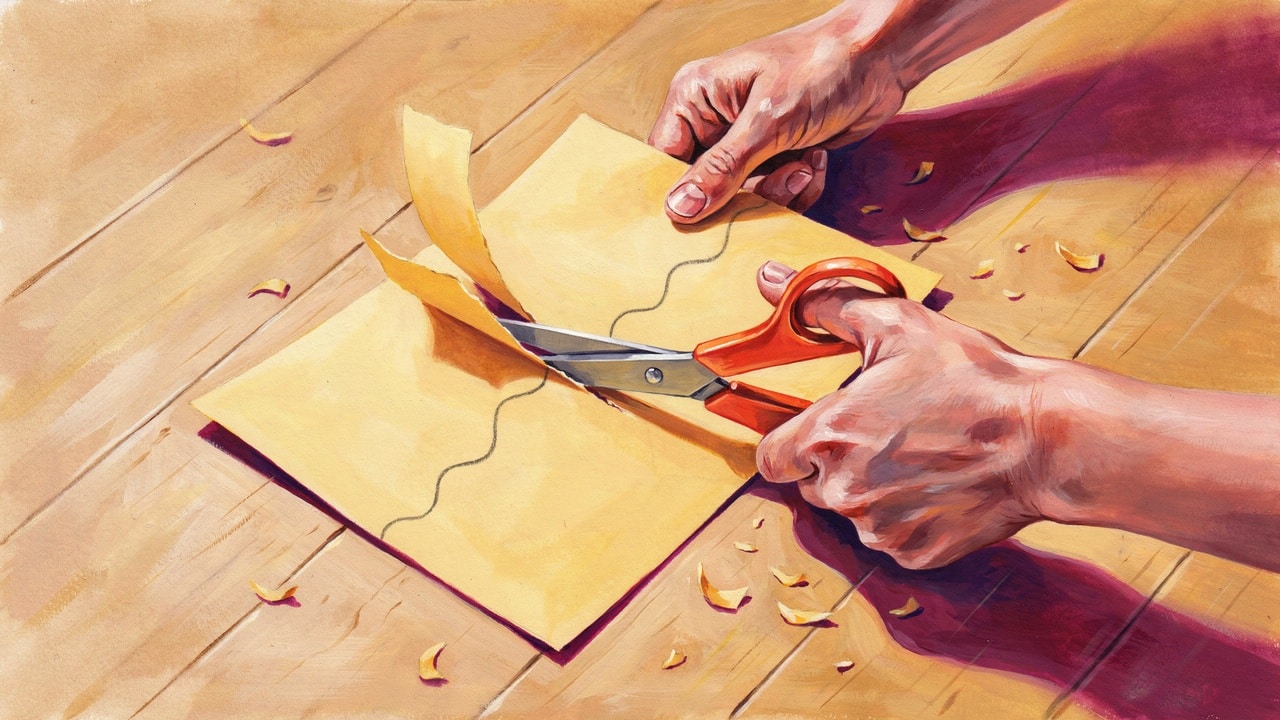
Cutting with safety scissors is one of the most direct forms of handwriting preparation available at home. The action uses the same three fingers that later grip a pencil, while the two smaller fingers tuck into the palm to stabilise the hand. Children who reach Year 1 with little scissor experience often show this in their letter formation, gripping too hard and tiring after a few lines.
Glueing does similar work. Squeezing a PVA bottle strengthens the web space between the thumb and index finger. Peeling masking tape from a roll trains a pincer grip. Tearing paper for a collage, rather than cutting it, builds the opposing hand movements that many Reception children find genuinely difficult.
“The simple act of cutting along a line with safety scissors builds the hand strength children need for handwriting. When a child struggled to form letters in Year 1, I would often look first at whether they had spent enough time with scissors, dough and glue before they ever picked up a pencil.”
Michelle Connolly, Founder of LearningMole and former teacher with over 15 years of classroom experience
Bilateral Coordination and Spatial Reasoning
Bilateral coordination is the ability to use both hands together, with each doing a different job: one holding the cereal box steady, the other cutting the window. Almost every craft in this guide demands it. So does tying shoelaces, using a ruler and playing most instruments.
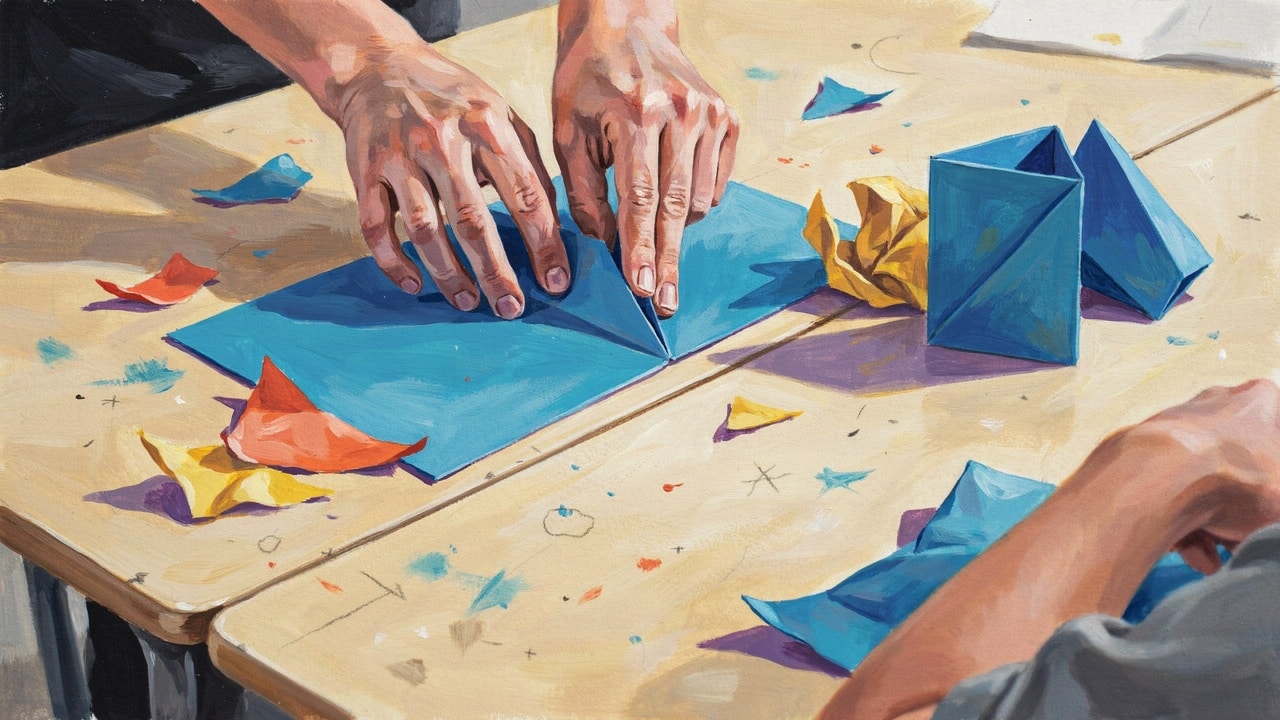
Spatial reasoning develops when a child works out that a flat piece of card has to be folded in three places to stand up on its own. Research in maths education links early spatial skills to later performance in geometry and measurement, which is one reason Design and Technology and maths sit so close together in primary planning.
Where Crafting Sits in the National Curriculum
The Key Stage 1 Art and Design programme of study asks that pupils are taught to use a range of materials creatively to design and make products, and to develop techniques in colour, pattern, texture, line, shape, form and space. At Key Stage 2, pupils are expected to improve their mastery of art and design techniques with a range of materials. Design and Technology adds structural work: at KS1, children build structures and explore how to make them stronger, stiffer and more stable, and at KS2, they apply that understanding to more complex builds.
For children in Reception and Nursery, the same activities map onto the Early Years Foundation Stage framework under Physical Development (specifically fine motor skills) and under Expressive Arts and Design (in the Creating with Materials strand). You can read the full programmes of study on the Department for Education national curriculum pages.
Use this table to pick an activity based on the time and tolerance for mess you actually have today, rather than the ones you wish you had.
Craft
Mess level (1 to 5)
Approximate time
Key skill practised
Curriculum link
Kitchen Roll Kaleidoscope
2
30 minutes
Precision cutting, measuring
KS2 Science (light), KS2 D&T
Cereal Box Shadow Theatre
2
45 to 60 minutes
Structural design, storytelling
Year 3 Science (light), KS1 and KS2 D&T
Egg Carton Boats
3
20 minutes
Testing and evaluating
Year 2 Science (materials), Year 5 Science (forces)
Magazine Collage Self-Portrait
1
30 to 45 minutes
Tearing, arranging, colour matching
KS1 and KS2 Art and Design
Bottle Top Stamps
4
25 minutes
Pattern, printing, repetition
KS1 Art and Design (pattern)
Only one of these five involves paint. If you are crafting at a kitchen table between work calls, start with the collage.
Five Handmade Crafts Using Household Materials
Every craft below uses items most UK households already have. Where a step needs an adult, it is marked. Instructions are written so they can be read aloud to a child, allowing older primary children to work through them with minimal help.
1. The Kitchen Roll Kaleidoscope
You need: one kitchen roll tube, kitchen foil, a small square of clear plastic from packaging, coloured beads or tiny paper scraps, greaseproof paper, masking tape, and scissors.
How to make it:
Cut three strips of card the same length as your tube and slightly narrower than one third of its width.
Cover one side of each strip smoothly with kitchen foil, shiny side out. Press out the creases with your thumb; creases spoil the reflection.
Tape the three strips together to make a long triangle, foil facing inwards, and slide it into the tube.
Tape the clear plastic square over one end. Drop in a small pinch of beads or paper scraps.
Tape greaseproof paper over the same end, leaving a little space so the pieces can move.
Look through the open end, point it at a window and turn it slowly.
Curriculum link: Year 6 pupils study how we see things because light travels from a light source to an object and then to our eyes. A kaleidoscope makes reflection visible: ask your child to count how many copies of one bead they can see, then work out why three mirrors produce that pattern.
Adaptation: Younger children can skip the triangle and simply line the tube with foil for a simpler shimmer effect. Older children can test how the pattern changes by using two strips instead of three.
2. The Cereal Box Shadow Theatre
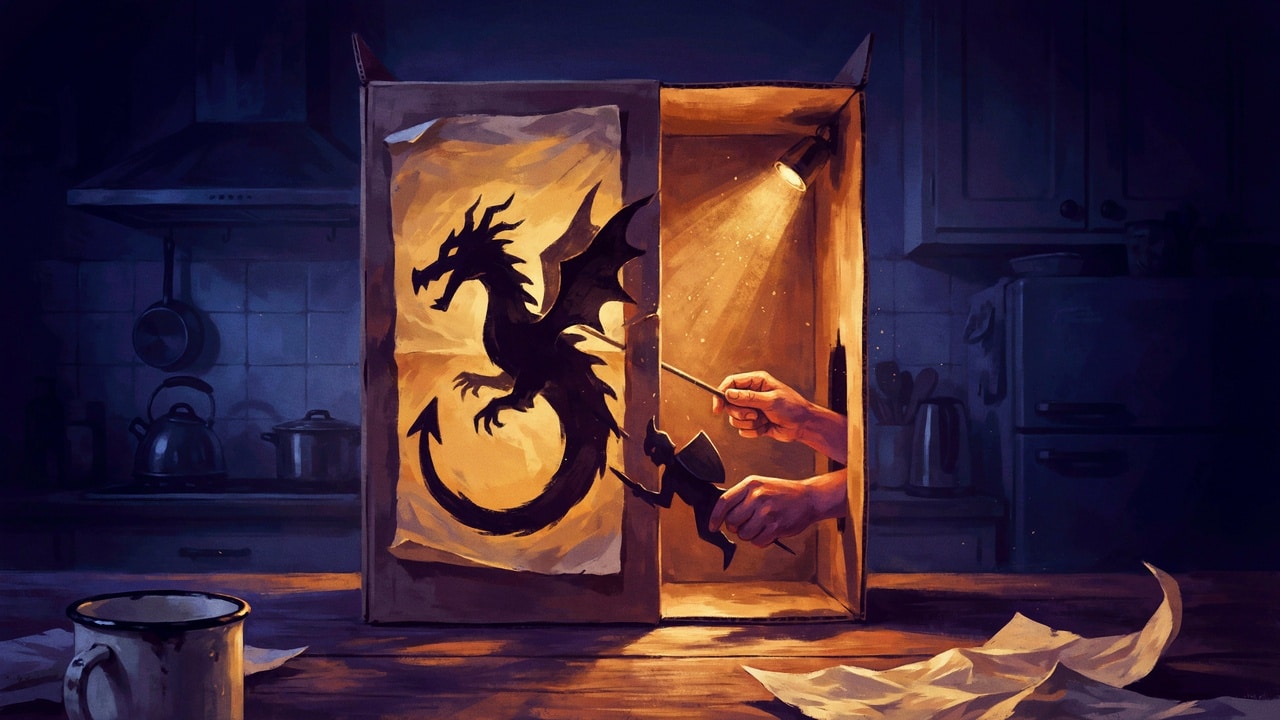
You need: one large cereal box, greaseproof paper or a white carrier bag, black card or a cereal box offcut, wooden skewers or straws, a torch, and masking tape.
How to make it:
Cut a large rectangular window in the front of the box, leaving a border of about three centimetres on every side. Adult steps for children under seven.
Tape greaseproof paper across the inside of the window to make the screen.
Cut the back of the box open so a hand can reach inside.
Draw simple character shapes on black card, cut them out and tape each one to a skewer.
Stand the torch behind the theatre. Hold the puppets between the torch and the screen.
Move a puppet closer to the torch and watch the shadow grow.
Curriculum link: Year 3 pupils are taught that shadows form when light from a light source is blocked by an opaque object. This build turns that statutory objective into something a child controls with their own hands. Cutting a window into a box and keeping it rigid is also structural work: KS1 and KS2 Design and Technology both ask children to make structures stronger and more stable.
Stretch it: Write a three-line play. Line one introduces a character, line two gives them a problem, and line three resolves it. Three lines are enough for a Year 2 child to perform confidently and short enough to rehearse twice before losing interest.
3. Egg Carton Boats
You need: a cardboard egg carton, paper, straws or cocktail sticks, masking tape, a washing-up bowl or a bath.
How to make it:
Cut the egg carton into single cups. Each cup is one boat hull.
Push a straw through the centre of the cup base and tape it upright inside.
Cut a paper triangle for the sail. Thread it onto the straw with two small holes, one at the top and one at the bottom.
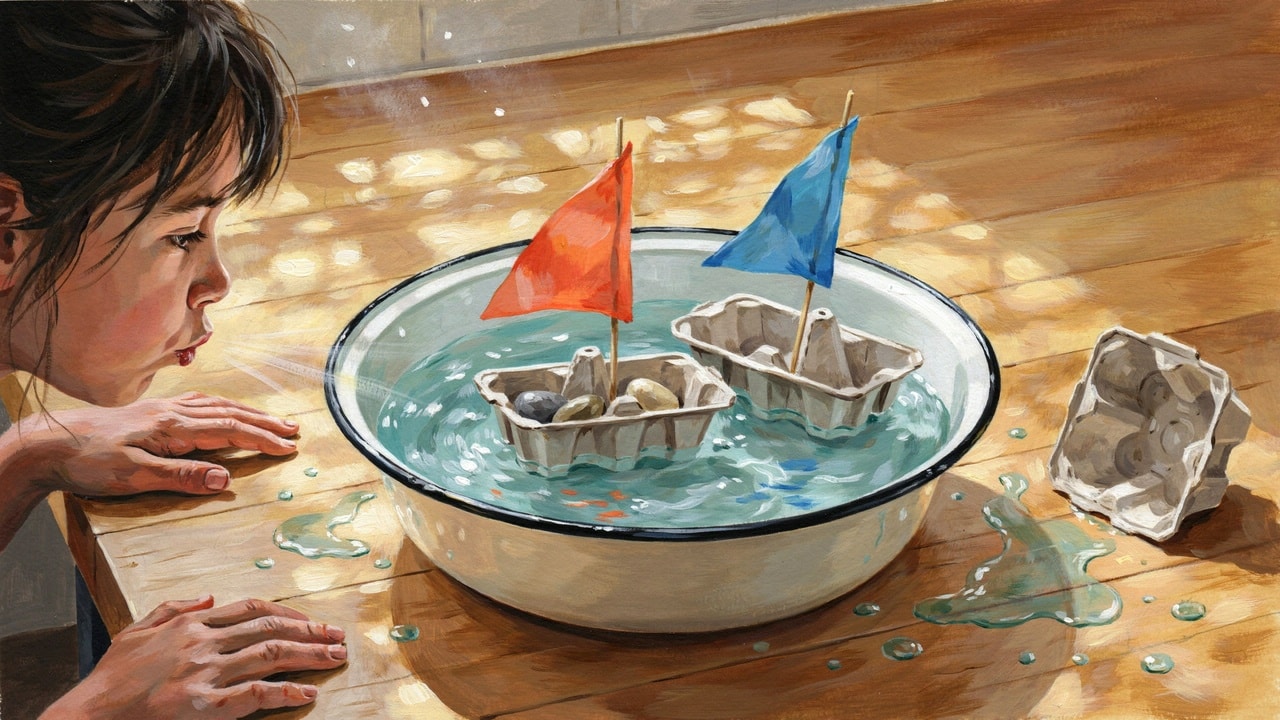
Float the boat. Blow gently and watch it move.
Add small stones one at a time and count how many the boat carries before water comes in.
Curriculum link: Year 2 pupils compare the suitability of everyday materials, and this is a direct test of whether a card makes a good boat. Year 5 pupils study the effects of water resistance, so older children can race two hull shapes and record which crosses the bowl faster.
Make it a fair test: Change one thing at a time. Same cup, same stones, different sail size. Ask your child to predict before each run and say afterwards whether the prediction held. That is the working scientifically strand, done at a washing-up bowl.
4. The Magazine Collage Self-Portrait
You need: old magazines or catalogues, a sheet of A4 or A3 paper, PVA glue or a glue stick, and a pencil.
How to make it:
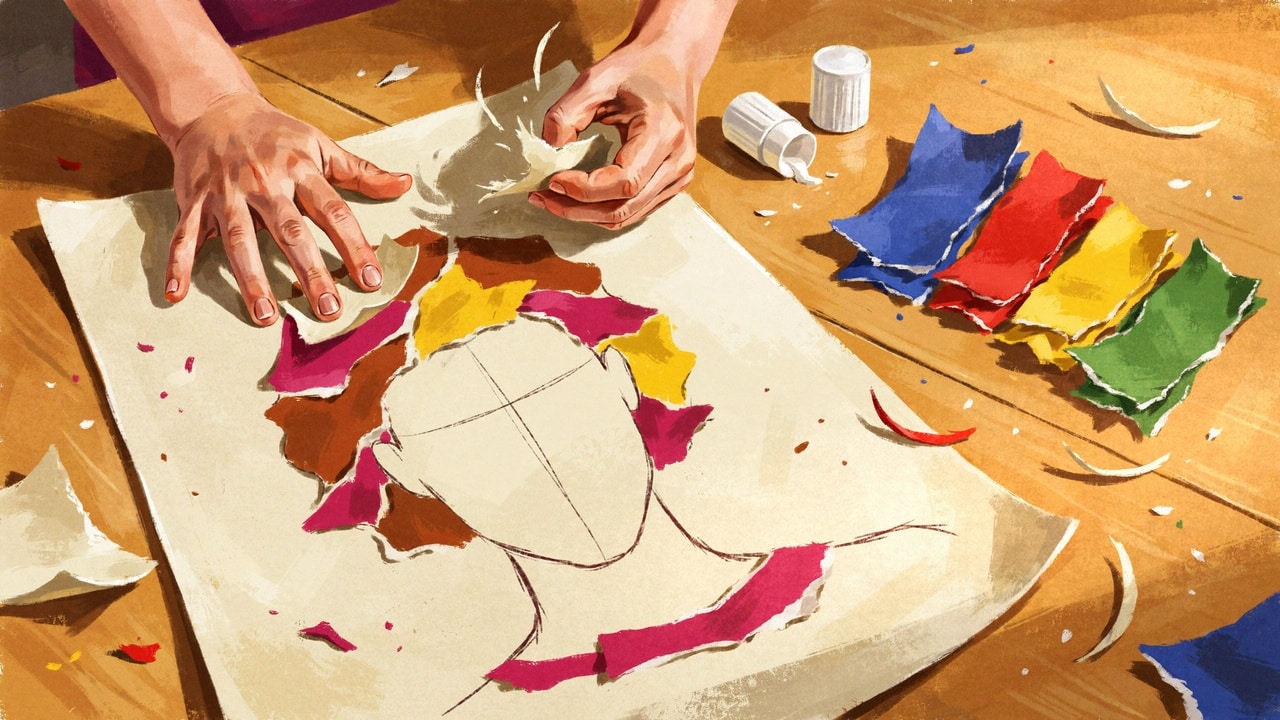
Draw a large, simple outline of a head and shoulders. Keep it big; small outlines are frustrating to fill.
Tear, rather than cut, patches of colour from the magazines. Tearing gives softer edges and is better fine motor practice.
Sort the torn pieces into piles by colour before sticking anything down.
Fill the outline, matching colours roughly to skin, hair and clothing.
Leave the background plain so the portrait stands out.
Curriculum link: Colour, pattern and texture are named techniques in the Key Stage 1 Art and Design programme of study. At Key Stage 2, ask children to record their choices in a sketch book, which is a KS2 requirement in its own right.
Texture Treasure Hunt: Before starting, send your child round the house for five minutes to find three different textures to include: corrugated card from a parcel, a scrap of fabric, and foil from a chocolate wrapper. This short hunt noticeably improves the quality of the finished collage and gives restless children a reason to move.
5. Bottle Top Stamps
You need: plastic bottle tops of different sizes, foam or thick card offcuts, PVA glue, ready-mixed paint, a sponge or old plate, and paper.
How to make it:
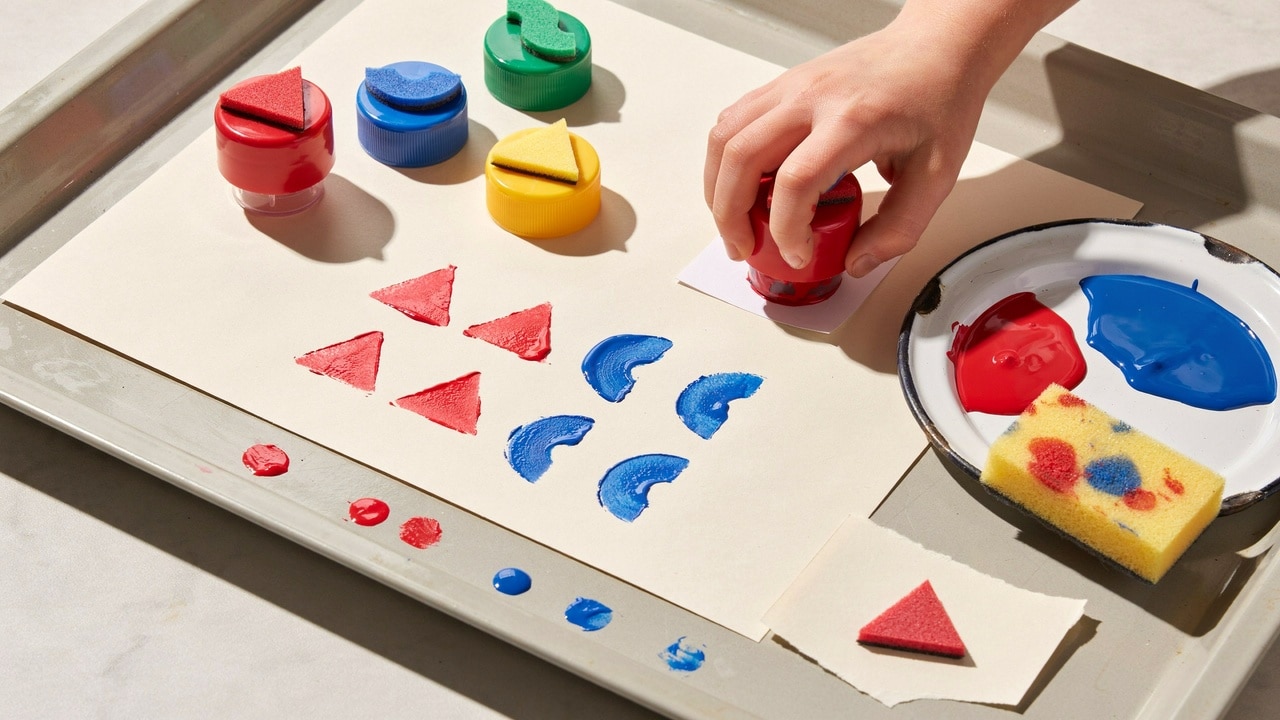
Cut simple shapes from foam or thick card: a triangle, a semicircle, a wavy line. Keep them smaller than the bottle top.
Glue one shape to the flat top of each bottle top. Leave to dry for an hour. This waiting time is unavoidable, so make the stamps in the morning and print after lunch.
Pour a little paint onto a sponge or plate to make a stamp pad.
Press the stamp onto the pad, then onto paper.
Repeat the same stamp in a line to make a pattern, then add a second colour.
Curriculum link: Printing and pattern appear explicitly in the Key Stage 1 Art and Design curriculum. Repeating a motif in a line, then in a grid, then in alternating colours also builds early understanding of sequence and symmetry.
Contain the mess: Work on a baking tray. The raised edge catches drips, and the whole thing goes in the sink afterwards. For children who dislike wet or sticky textures, an ink pad can be used instead of paint.
Mess-Free Crafting: Practical Tips for Parents Working from Home
Choose dry crafts and contain the wet ones. The collage, the kaleidoscope, and the shadow theatre involve no liquid at all beyond glue, which means they can be done on a dining table twenty minutes before a meeting without any risk to a laptop.
For anything involving paint or glue, a few habits help more than any product:
Use a tray, not a table. A baking tray or the lid of a large storage box physically defines the working area. Children respect a visible boundary better than a verbal one.
Decant, do not hand over. Give a teaspoon of PVA on a saucer with a cotton bud rather than the whole bottle. Refill as needed.
Set out everything first. Half the mess in home crafting happens when a child gets up mid-activity with glue on their hands to fetch scissors.
Old shirt, backwards. An adult shirt buttoned up the back covers more than an apron and costs nothing.
Agree the finish line. “We tidy when the timer goes” prevents the long negotiation at the end. Ten minutes of tidying is part of the activity, not an afterthought.
Crafts using materials from the recycling box also solve the storage problem: nothing needs to be kept, because the raw materials arrive weekly. Our guides to recycling crafts for kids and eco-friendly crafts cover that approach in more depth if you want to build a term of activities around it.
Turning These Crafts into a School Fair Stall or Home Shop
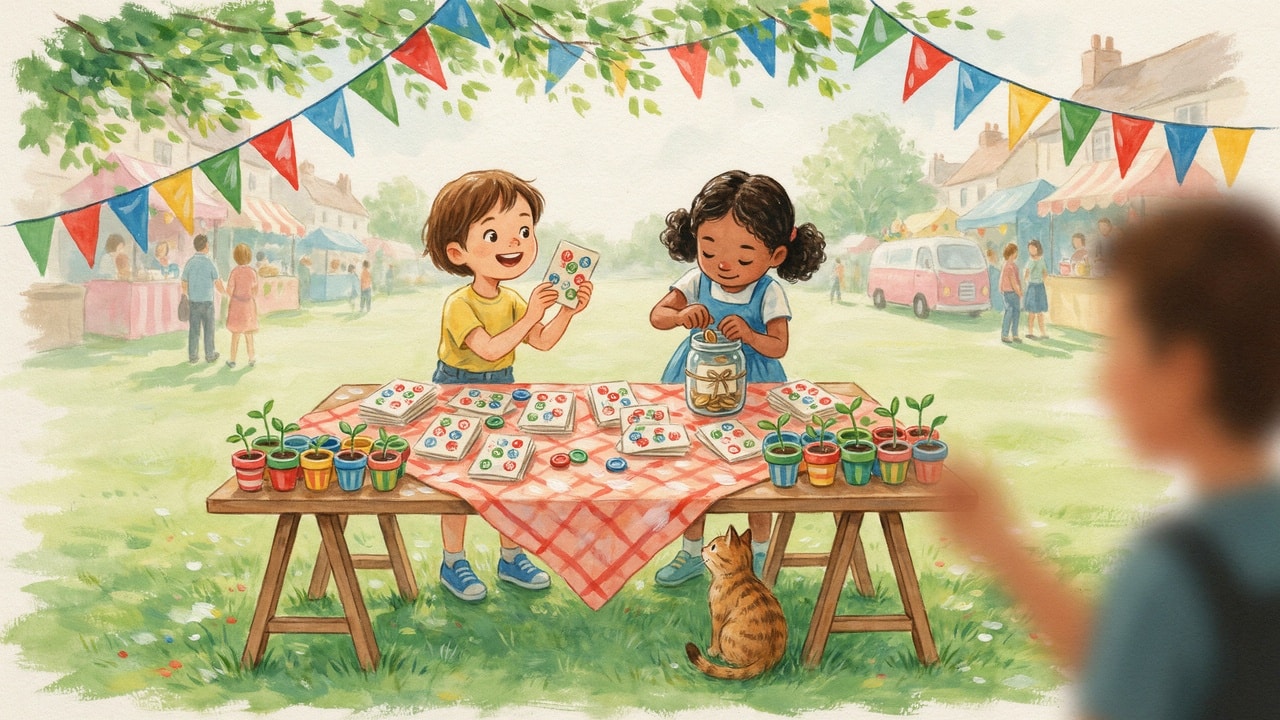
Three of these five crafts scale well enough to sell at a summer fair, and the ones that work are the ones a child can batch produce. Bottle-top stamps, printed cards made with those stamps, and decorated plant pots made from egg cartons are practical choices. A kaleidoscope takes half an hour to build and cannot be priced sensibly.
This is genuine enterprise education, and it maps onto the Key Stage 2 Design and Technology expectation that pupils design products for a particular purpose and user. Ask a child to work out the cost per item when the materials are free, but the paint is not, decide a price, and count takings against a target. Most children aged eight and over can run that calculation with support, and it turns an afternoon that would otherwise be purely craft into a maths lesson.
Keep expectations sensible. A stall of twenty hand-printed cards at fifty pence each is a realistic outcome for a Year 4 child working across two afternoons. The learning is in the pricing, the batching and the counting, not in the profit.
Adapting These Crafts by Year Group and for SEND Learners
Each craft can be simplified or extended, so a mixed-age group can work on the same activity simultaneously. The table below shows how the same five activities change across the primary phase.
Year group
What changes
Adult input needed
Reception and Year 1
Tear instead of cut. Pre-cut windows and shapes. Focus on filling, sticking and printing.
Constant supervision, all cutting done by an adult
Year 2 and Year 3
Children cut their own shapes with safety scissors. Introduce the curriculum question behind each craft.
Supervision for the cereal box window only
Year 4 and Year 5
Children follow the written steps independently. Add fair testing to the boats and a written script to the theatre.
Available nearby, checking in
Year 6
Children design a variation, sketch it first, then build and evaluate it against their own criteria.
Minimal, acting as a sounding board
For children with SEND, the collage and the texture hunt tend to be the strongest starting points. Both are sensory, both allow a child to work at their own pace, and neither has a single correct outcome, which removes the pressure that step-by-step building can create. Children who find wet or sticky textures difficult can use masking tape and an ink pad throughout and still complete four of the five activities.
Children with limited hand strength often manage tearing long before cutting, and pre-scored card folds with far less effort than plain card. For children who need predictability, showing a finished example before starting reduces anxiety significantly, even though it slightly reduces the creative freedom.
Teaching Resources and Support
LearningMole provides free and subscription-based educational videos and teaching resources aligned with the UK National Curriculum, covering Art and Design, Design and Technology, science and maths for children aged 4 to 11. Founded by Michelle Connolly, a former primary school teacher with over 15 years of classroom experience, LearningMole makes resources for teachers planning lessons and parents supporting learning at home.
For teachers: Our Art and Design resources cover the KS1 and KS2 programmes of study, with ready-made activity plans that save time on preparation. The Design and Technology projects for primary collection include structural builds that follow on naturally from the cereal box theatre.
For parents: The home learning hub groups activities by age and subject, so you can find something suitable in under a minute rather than scrolling through a list. Our video resources demonstrate each technique visually, which helps when written instructions are not landing.
Frequently Asked Questions
What are the best mess-free crafts for kids?
Collage and paper-based construction are the cleanest options. The magazine collage self-portrait and the kitchen roll kaleidoscope in this guide need only glue, and both can be done on a dining table with a single sheet of newspaper underneath. Avoid paint, slime and anything involving loose glitter if mess is the main concern. If you do want to print or paint, work on a baking tray so spills stay contained, and use an ink pad rather than liquid paint with younger children.
Which crafts support the KS1 Art and Design curriculum?
Bottle top stamps and the magazine collage map most directly onto Key Stage 1 requirements. The programme of study asks that pupils develop techniques in using colour, pattern, texture, line, shape, form and space, and that they use a range of materials creatively to design and make products. Printing with handmade stamps explicitly covers pattern and repetition. Collage covers colour and texture. The cereal box theatre adds the Design and Technology strand, in which KS1 pupils build structures and explore ways to make them stronger and more stable.
How can I make a craft kit using only household items?
Five items cover almost everything in this guide: PVA glue, masking tape, safety scissors, kitchen roll tubes and cardboard. Add a pot of ready-mixed paint, and you can run every activity here. Keep the collection in a single lidded box so children can fetch it themselves, and top it up from the recycling each week rather than buying anything. Egg cartons, bottle tops, cereal boxes and magazines arrive free and constantly, which is why they work better than a bought kit that runs out.
What crafts can an 8-year-old make and sell?
Bottle-top stamps and the printed cards made with them are the most practical choice for a school fair or a home shop, alongside decorated egg-carton plant pots. All three can be batch-produced, which matters because a child needs a stock of ten to twenty items to have anything worth selling. Involve them in working out material costs, setting a price and counting takings against a target, which turns the activity into Key Stage 2 enterprise and maths work rather than just craft.
Are these crafts suitable for children with SEN?
The collage and the texture treasure hunt work particularly well for inclusive learning. Both are sensory, both are open-ended with no single correct outcome, and both can be paused and returned to. Children who find sticky or wet textures difficult can use masking tape and ink pads instead of glue and paint and still complete most activities. For children who need structure, show a finished example first and break each craft into two short sessions rather than one long one.
How long should a craft session last for primary-aged children?
Twenty to thirty minutes is realistic for Reception and Key Stage 1, and forty-five minutes to an hour for Key Stage 2. Attention drops sharply after that, and a child who is asked to keep going past their limit often ends the session frustrated with something they were previously proud of. Splitting a craft across two sessions works well, particularly for the bottle top stamps, where the glue needs an hour to dry anyway.
Do these crafts work in a classroom as well as at home?
Yes, with two adjustments. Pre-cut the cereal box windows before the lesson, because thirty children cutting thick card at once is not manageable in a single session. Set up the bottle-top stamps as a carousel station rather than a whole-class activity, since the paint-drying time makes it awkward otherwise. The collage and the boats scale to a full class with no changes, and the boats work well as a fair-testing investigation in Year 2 or Year 5.
Where can I find more primary craft ideas linked to the curriculum?
LearningMole’s Art and Design resource collection groups activities by key stage and by curriculum objective, so you can search for what you need to teach rather than browsing craft ideas at random. Our printable craft resources include templates and instruction sheets you can send home, and our video library demonstrates the techniques step by step for children who learn better by watching than by reading.
Conclusion
Five crafts, one kitchen cupboard, and an afternoon that produces something a child has made themselves. The finished objects will not look like the photographs on a craft blog, and that is the point: a wonky kaleidoscope a seven-year-old built alone teaches more than a perfect one an adult built while the child watched.
The skills underneath are the part worth protecting. Every time a child cuts along a line, squeezes a glue bottle or folds a card into a shape that stands up, they are doing physical practice that shows up later in handwriting, in geometry and in the confidence to try something without knowing how it will turn out. The National Curriculum treats these as taught skills rather than happy accidents, which is why the Art and Design and Design and Technology programmes of study specify them.
Start with whichever craft matches the mess you can tolerate today. Come back to the others across a half-term. If you want the same approach applied across a full term of primary Art and Design, LearningMole’s curriculum-aligned video resources and teaching materials cover the techniques in this guide and a good deal more, for teachers planning lessons and for parents filling a rainy Tuesday.
Want full access to LearningMole’s library of our videos, quizzes, and printable resources? See our subscription plans to unlock everything KS1 and KS2 teachers need for primary education.
Maths Circus, an innovative platform we've crafted, presents a captivating realm where children learn mathematics through the exciting theme of a circus. The joy of juggling numbers and solving circus...
Fruit helps protect the body from disease because it delivers fibre, vitamins, minerals and natural plant compounds that support the heart, the gut, blood sugar control and healthy cells. The...
Dark chocolate is one of the few treats that scientists have studied in real depth, and the results are more measured than the headlines suggest. The cocoa bean is rich...
A tour guide leads visitors around a place of interest, such as a castle, a museum, a city centre or a nature reserve, and explains its history and stories in...




Leave a Reply